Disclosure: Some links may be affiliate links. This means that I may earn a small commission if you decide to buy (at no additional cost to you)
Last Updated on October 27, 2025 by Erin Donahue
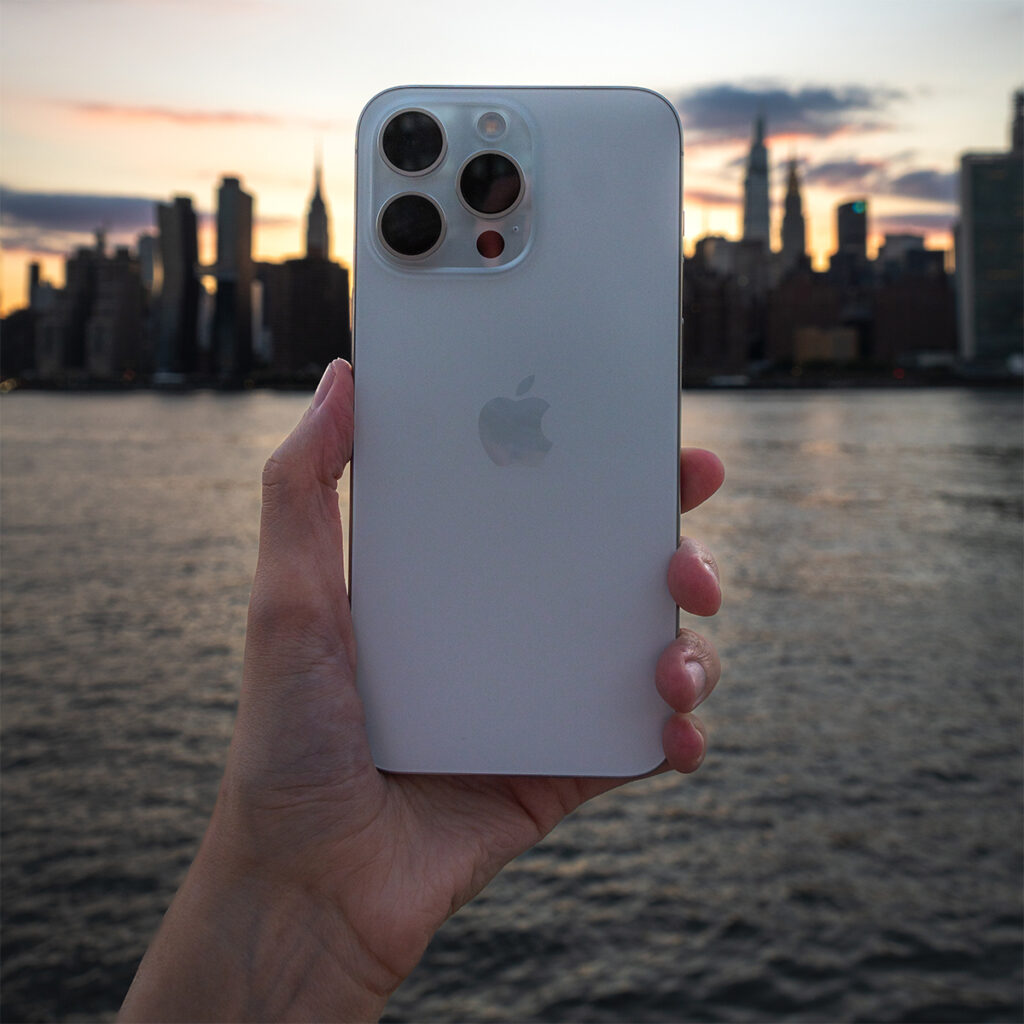
Have you ever wondered how to photograph the Northern Lights with your phone? The sensors in modern smartphones are totally capable of capturing nature’s most spectacular light show with no expensive camera gear required. Of course, the argument can be made that phones these days are expensive cameras.
I have a broader article on how to photograph the Northern Lights, but in this guide, I’ll show you exactly how to use your iPhone’s night mode to photograph the Aurora Borealis.
Quick Answer: iPhone Northern Lights Settings
What you need:
- iPhone 11 or newer (with Night Mode)
- Steady hands or phone tripod
- Clear, dark skies
iPhone settings:
- Open the native Camera app
- Switch to Night Mode (moon icon)
- Tap the moon icon to adjust exposure. This is dependent on how much darkness the camera sensor is detecting.
- Slide exposure time to 10-30 seconds
- Stay completely still while shooting
Which iPhones Can Photograph Northern Lights?
Night Mode capability (required):
- iPhone 11, 11 Pro, 11 Pro Max
- iPhone 12 series (all models)
- iPhone 13 series (all models)
- iPhone 14 series (all models)
- iPhone 15 series (all models)
Best performance:
- iPhone 13 Pro and newer (improved low-light sensors)
- iPhone 14 Pro and newer (Photonic Engine)
- iPhone 15 Pro and newer (latest computational photography)
Older iPhones, pre-iPhone 11, won’t get usable Northern Lights photos without Night Mode, unfortunately. The camera sensor’s low-light capability simply isn’t there.
Step-by-Step: iPhone Northern Lights Photography
1. Open Your Native Camera App
Avoid third-party apps. Apple’s native Camera app has the best Night Mode implementation.
2. Enable Night Mode
When you point your iPhone at a dark sky, the moon icon appears automatically. If it doesn’t: you’re not in a dark enough area or using an older iPhone
3. Adjust the Exposure Time
Tap the moon icon and drag the slider. Again, this is dependent on how much darkness the camera sensor is detecting. Experiment with exposure times based on the available ambient light.
4. Frame Your Shot
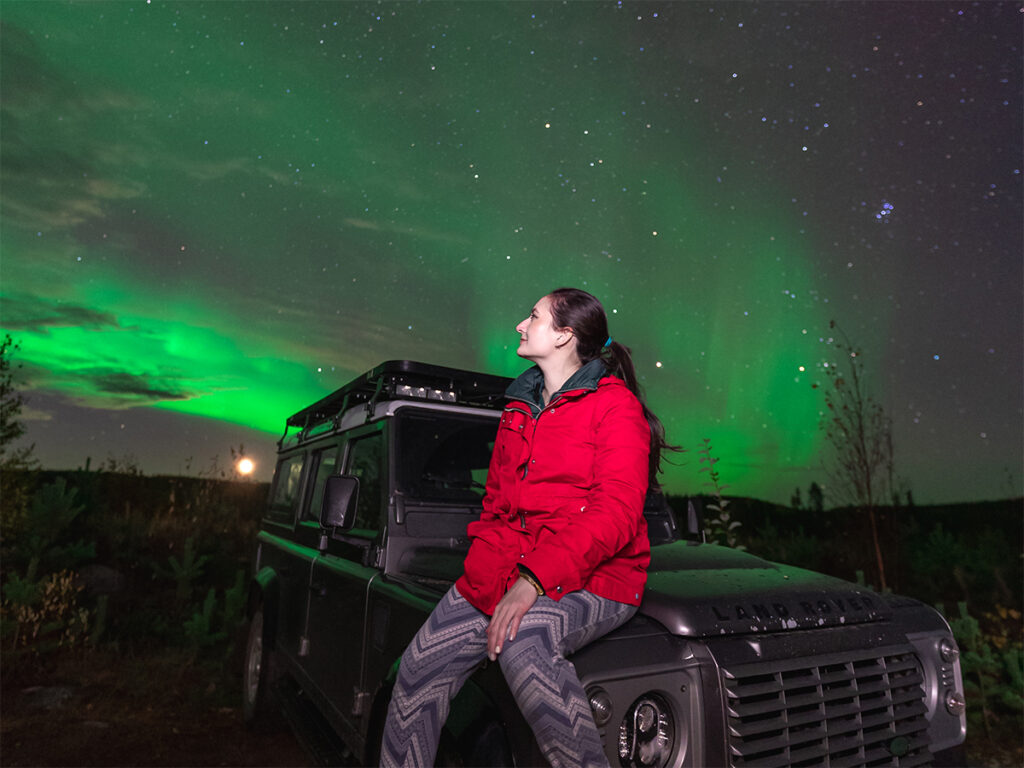
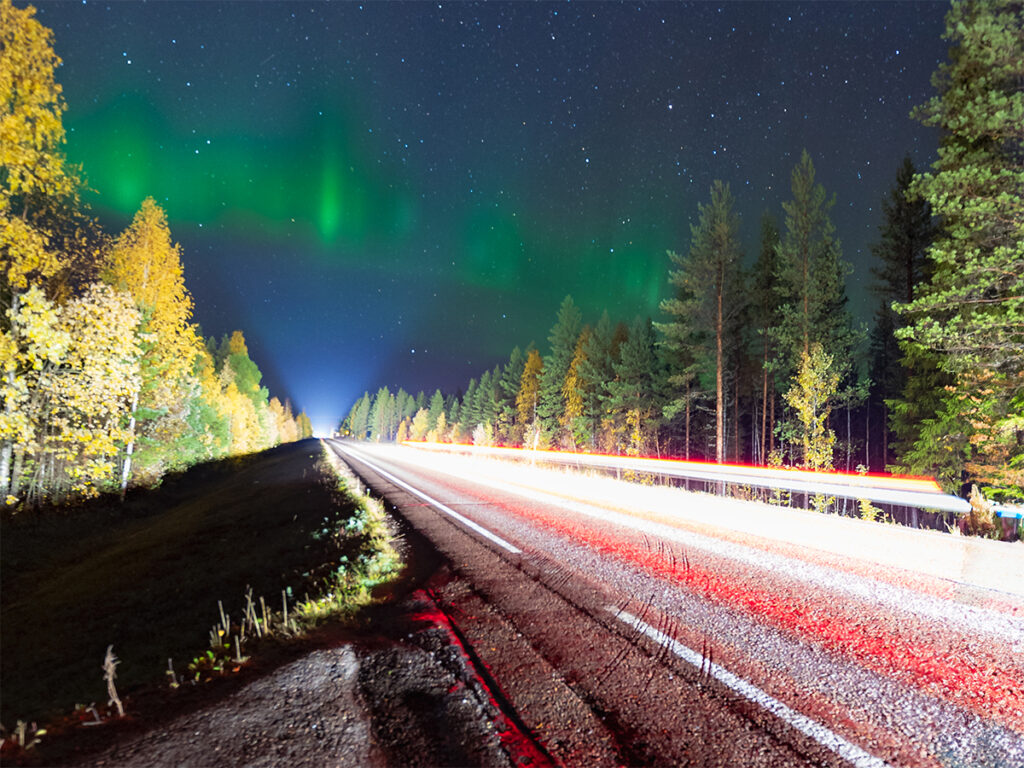
Include trees, mountains, or cabins to add scale. Avoid light pollution if possible, and keep the aurora in the upper 2/3 of the frame.
5. Stay Completely Still
What’s great is you don’t need a tripod for your phone when using Night Mode, but you MUST stay still. Any movement during the 10-30 second exposure will blur the image.
Stability tips:
- Brace your arms against your body
- Lean against something
- Place the phone on a stable surface if possible
- Use a cheap phone tripod for best results (highly recommended)
6. Hit the Shutter Button
Press the shutter button and don’t move until the exposure completes. You’ll see a countdown timer on screen.
7. Review and Adjust
Check your result:
- Too dark? Increase exposure time (slide toward 30s)
- Too bright or blurry? Decrease exposure time (slide toward 10s)
- Motion blur? Stay still or use a tripod
Can You Film Northern Lights with an iPhone?
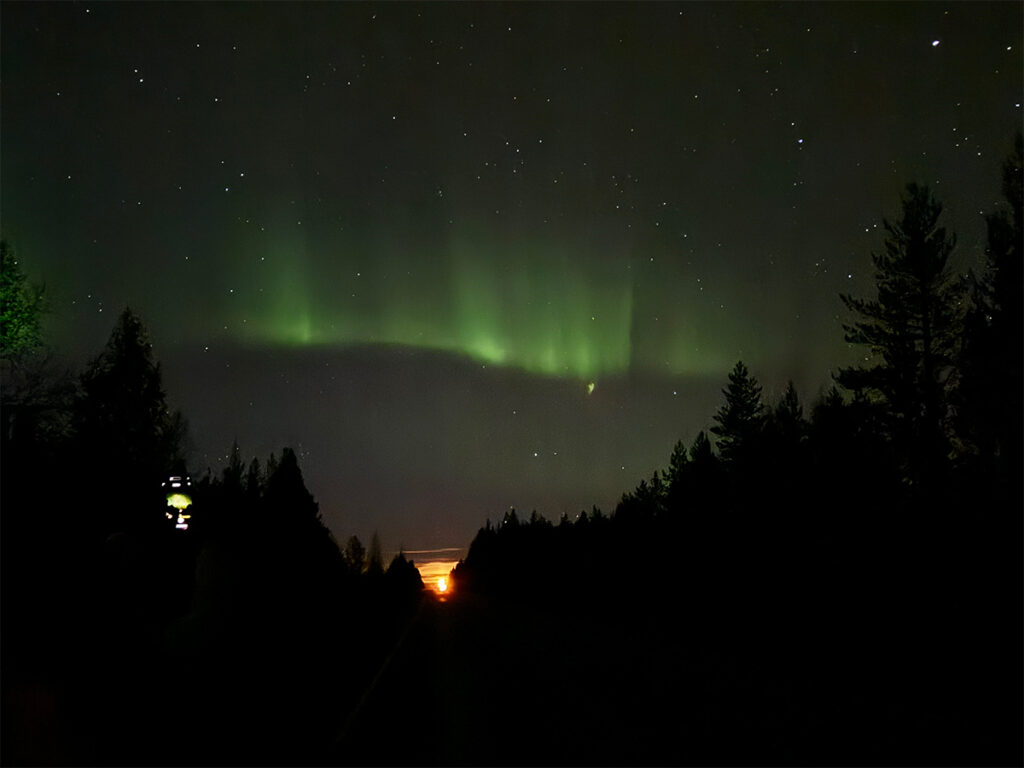
Yes! When the aurora is particularly bright, iPhone video mode can capture the dancing lights in real-time. When I was in Rovaniemi, my iPhone captured visible movement in video, but my photos consistently produced better results with more vibrant colors and detail.
Video tips:
- Use standard Video Mode (Night Mode doesn’t apply)
- Works best during strong aurora displays
- Results won’t match the photo quality
Best Settings for iPhone Northern Lights Photography
Night Mode Settings Recap
- Exposure time: Start with 10 seconds, adjust based on aurora brightness
- Exposure compensation: Usually don’t need to adjust (iPhone handles this automatically)
- Flash: OFF (obviously!)
- Format: HEIF or JPEG (both work—HEIF saves space)
Optional: Use ProRAW (iPhone 12 Pro and newer)
If your iPhone supports ProRAW:
- More editing flexibility in post-processing
- Capture maximum detail and dynamic range
- Files are much larger (25-50MB vs. 3-5MB for JPEG)
- Requires editing in Lightroom Mobile or similar
How to enable ProRAW: Settings → Camera → Formats → Apple ProRAW
Troubleshooting iPhone Northern Lights Photos
What To Do If The Photos Are Too Dark
- Increase exposure time (slide toward 30 seconds)
- Make sure you’re in a truly dark location (away from city lights)
- The aurora might be fainter than it appears to your eyes
- Wait for a stronger aurora burst
If The Photos Are Blurry
- You moved during the exposure—stay completely still
- Use a phone tripod or stabilize against a solid surface
- Press the shutter button gently (or use the volume button as the shutter)
- Try a shorter exposure time (10-15 seconds)
If Night Mode Won’t Activate
- You’re not in a dark enough environment
- You’re using an iPhone older than iPhone 11
- Try covering the lens briefly, then pointing at the dark sky
- Make sure you’re in standard Photo mode (not Portrait, Pano, etc.)
What To Do If The Aurora Looks White/Gray Instead of Green
- The aurora might actually be faint (your eyes see it as green, but the camera needs more light)
- Increase exposure time
- Your iPhone is doing its best. Sometimes the aurora is just too faint for phones
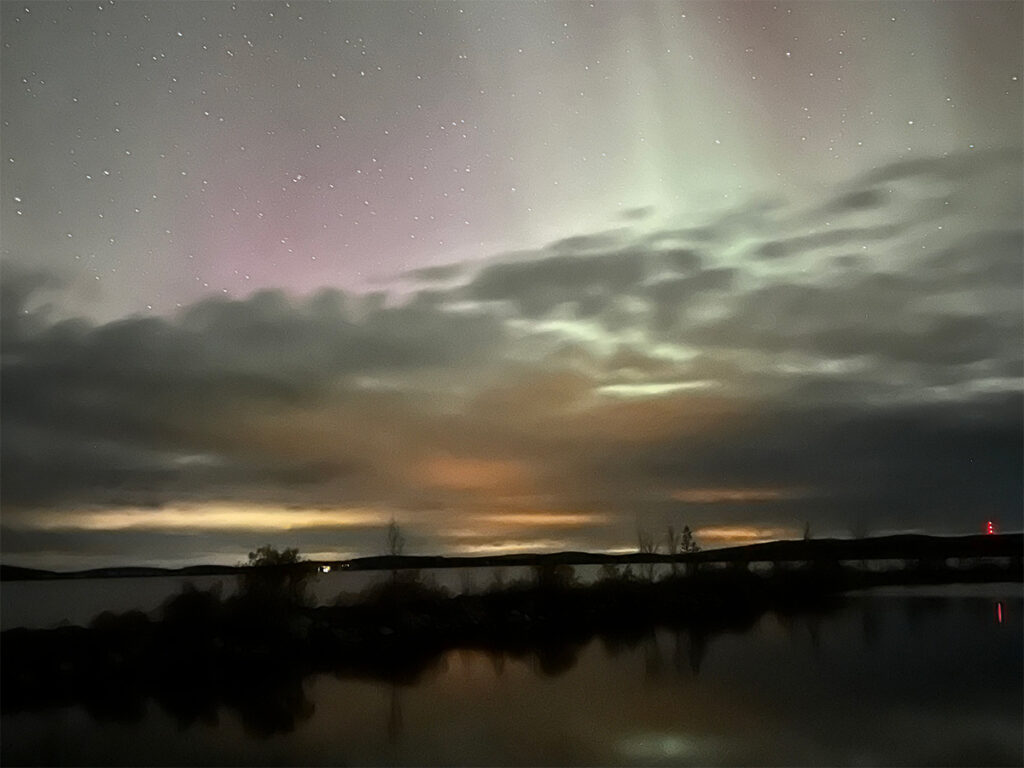
Best Time & Places to Photograph Northern Lights
The best months to see the Northern Lights are September-October and February-March. These are the shoulder seasons with active aurora and milder temperatures, depending on where you go.
The best time of night to see the Northern Lights is typically 10 PM – 2 AM. This is considered peak aurora activity, and is why traveling during December and January for longer darkness isn’t necessary.
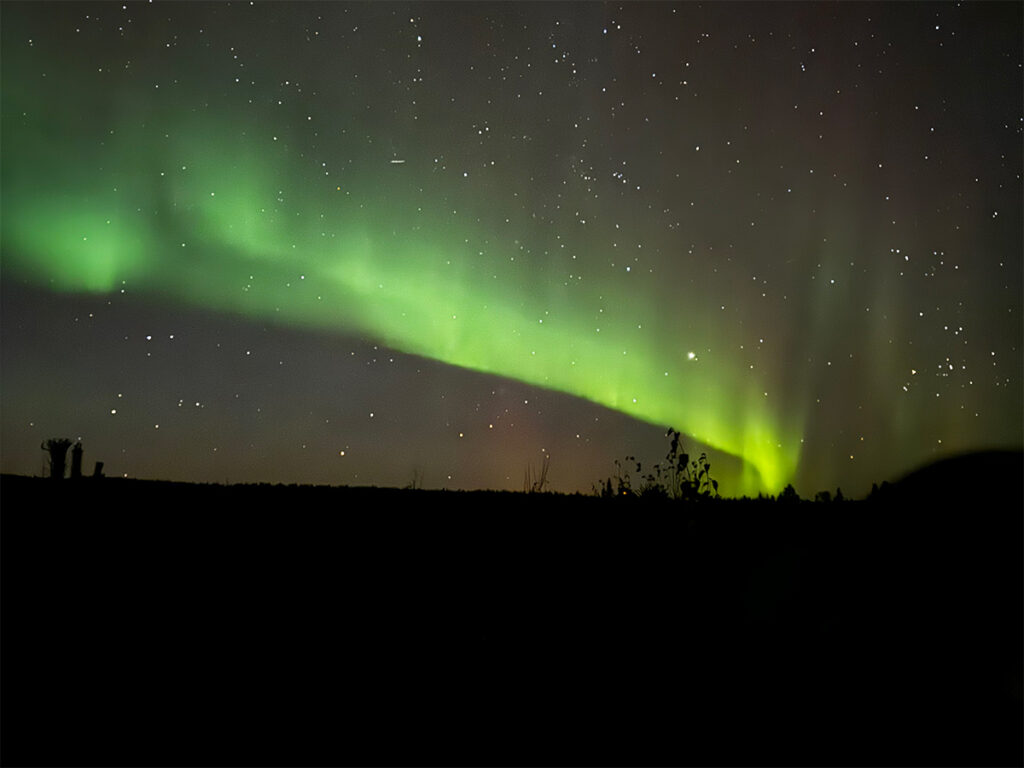
2024-2026 bonus: Solar Cycle 25 peak means stronger, more frequent aurora displays. This was evident in May and October 2024. I even photographed and saw the Northern Lights in New York City with my naked eye—something I thought was impossible because of all the light pollution!
Where to Go to Photograph Northern Lights
The general rule is that anywhere above the Arctic Circle gives you good chances. I photographed Northern Lights in:
- Rovaniemi, Finland
- Abisko, Sweden (80% success rate for 3+ day stays)
- Narvik, Norway
Frequently Asked Questions
Q: Can an iPhone really photograph Northern Lights?
A: Yes! Newer iPhone models with Night Mode can capture the Northern Lights effectively during strong to moderate displays. Results won’t match professional cameras, but you’ll get Instagram-worthy shots.
Q: Which iPhone is best for Northern Lights?
A: iPhone 13 Pro or newer offers the best low-light performance. However, any iPhone with Night Mode (iPhone 11+) can capture Northern Lights during bright displays.
Q: Do I need a tripod for iPhone Northern Lights photography?
A: Technically, no—Night Mode works handheld.
Q: Why are my iPhone Northern Lights photos blurry?
A: Any movement during the long exposure (10-30 seconds) causes blur. Stay completely still, use a tripod, or stabilize your phone against a solid surface.
Q: Can I film Northern Lights with an iPhone?
A: Yes, during particularly bright aurora displays. Standard video mode can capture visible aurora movement. Photos consistently produce better quality results than video, though.
Q: What iPhone settings should I use for Northern Lights?
A: Open the native Camera app, activate Night Mode (moon icon), tap the moon icon to adjust exposure time to 10-30 seconds, and stay completely still while shooting. That’s it!
You’re Ready to Capture the Northern Lights!
With these tips, you’ll be capturing those ethereal green swirls like a pro. Who needs fancy camera gear when you’ve got a smartphone? Now go out there and capture some celestial magic in the skies!
Remember, no photo truly captures the magic of seeing the Aurora with your own eyes. While you’re photographing, take moments to simply look up and marvel at nature’s most spectacular light show dancing above you. Have you photographed Northern Lights with your iPhone? Drop a comment below and share your experience!
To keep up to date with everything I share, follow along on my social media and read up on what camera gear I use when I travel.
Comments +