Disclosure: Some links may be affiliate links. This means that I may earn a small commission if you decide to buy (at no additional cost to you)
Last Updated on January 8, 2026 by Erin Donahue
As a photographer, whenever I share behind-the-scenes of a shoot, one of the first questions I get is: What gear do you use? My setup has evolved over the years, but it’s still built around the same philosophy: invest in tools that are versatile, reliable, and portable.
When I choose gear, I focus on two things: lightweight design and budget-friendly pricing. Traveling with too much camera gear is never a graceful look (believe me, I’ve tried). I always look like I’m getting ready for school, or like my gear will overwhelm me. Also, budgets are relative. The goal is to stay mobile without compromising quality. Here’s everything I’m using right now.
Why do I use Sony cameras?
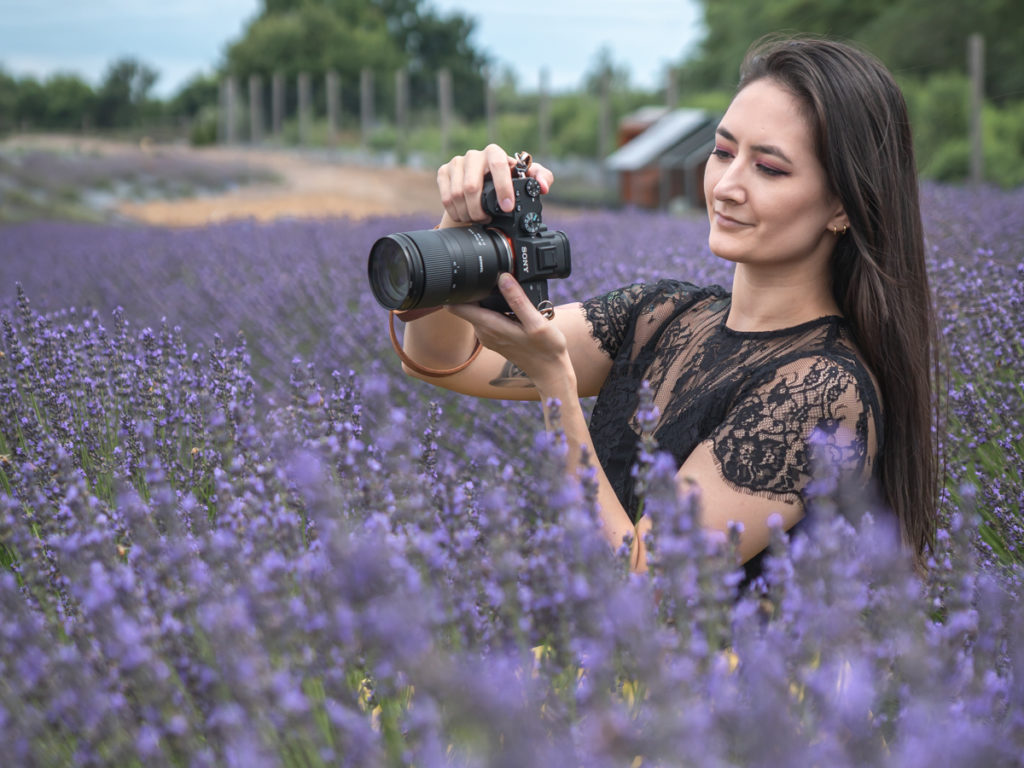
I’ve been shooting on Sony mirrorless cameras since 2014 because of its sharp lenses, autofocus, and low-light capabilities. During my most recent Sony Alpha partnership, they upgraded me to a Sony A7IV, which handles both photo and video seamlessly, with major improvements to the in-body image stabilization, especially handheld.
What’s the best camera for travel photography?
My go-to camera is the Sony a6400 for when I travel and for my day-to-day. It’s an APS-C camera, which means it’s lighter than a full-frame but still delivers great image quality. I started with the Sony a6000, then upgraded through the a6300 to the a6400. It’s compact, budget-friendly, and reliable on the go.
What’s the difference between APS-C and full-frame cameras?
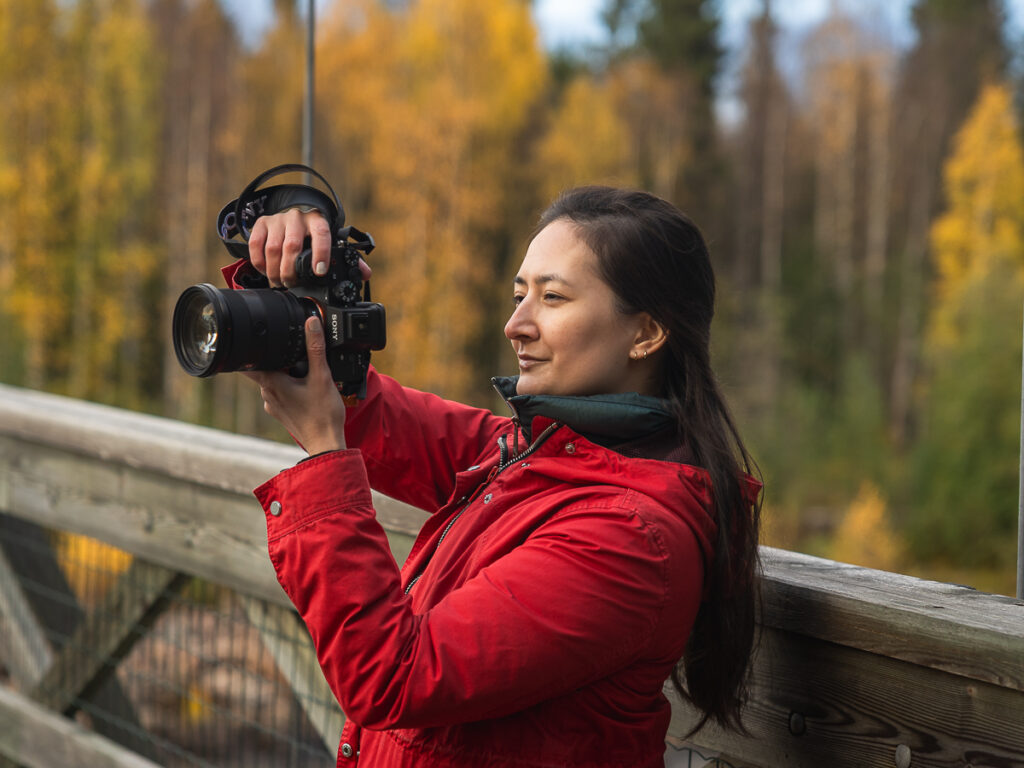
APS-C cameras are smaller and lighter, but full-frame cameras have larger sensors that capture more detail. For client work, I use full-frame bodies like the Sony A7III and A7SIII. Sony’s low-light capabilities make them ideal for astrophotography, chasing the Northern Lights, or working indoors without pushing ISO too high.
What lenses do I recommend for Sony cameras?
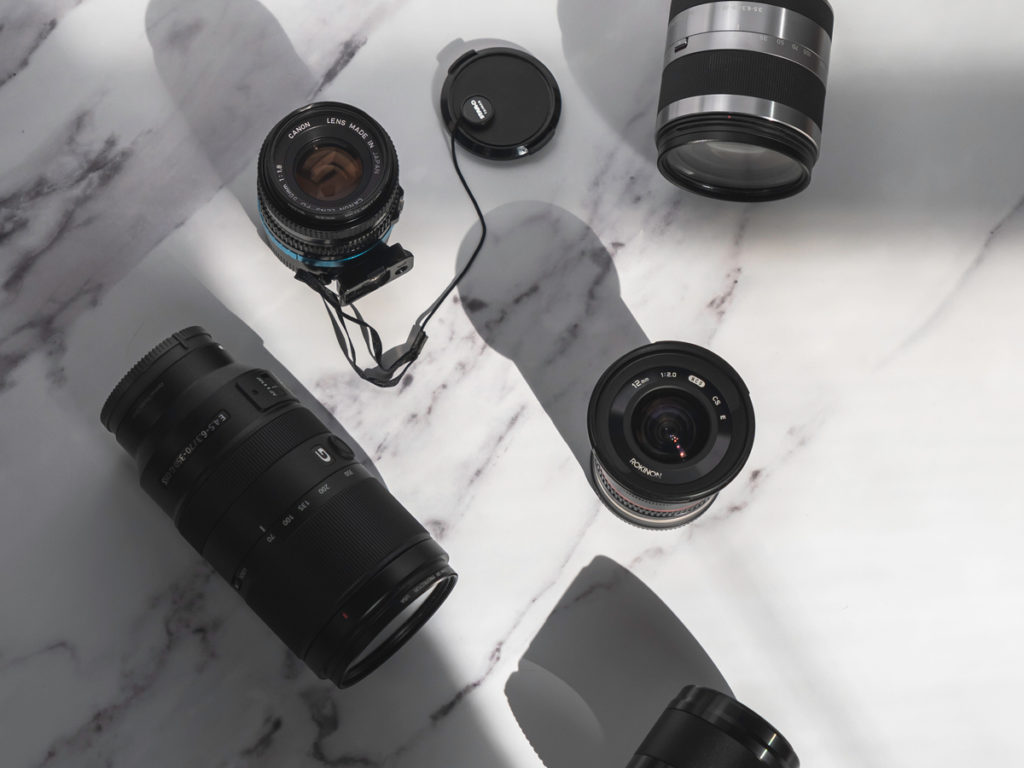
Camera lenses, otherwise known as “glass”, matter more than the body. Here are my go-to lenses:
- 16-55mm, f/2.8 G-Master. (APS-C) – versatile, sharp, and covers a wide to portrait.
- Sigma 30mm f/1.4 (APS-C, budget-friendly) – my go-to prime lens for years, with beautiful bokeh.
- Sony 24-70mm f/2.8 GM II (full-frame) – my workhorse lens for client shoots.
- Tamron 28-75mm f/2.8 (full-frame, budget alternative) – solid before I upgraded to Sony’s native lens.
If you’re starting out, I recommend going with a prime lens first, especially third-party options. They’re affordable and often sharper than kit zooms
What tripod is best for photographers?
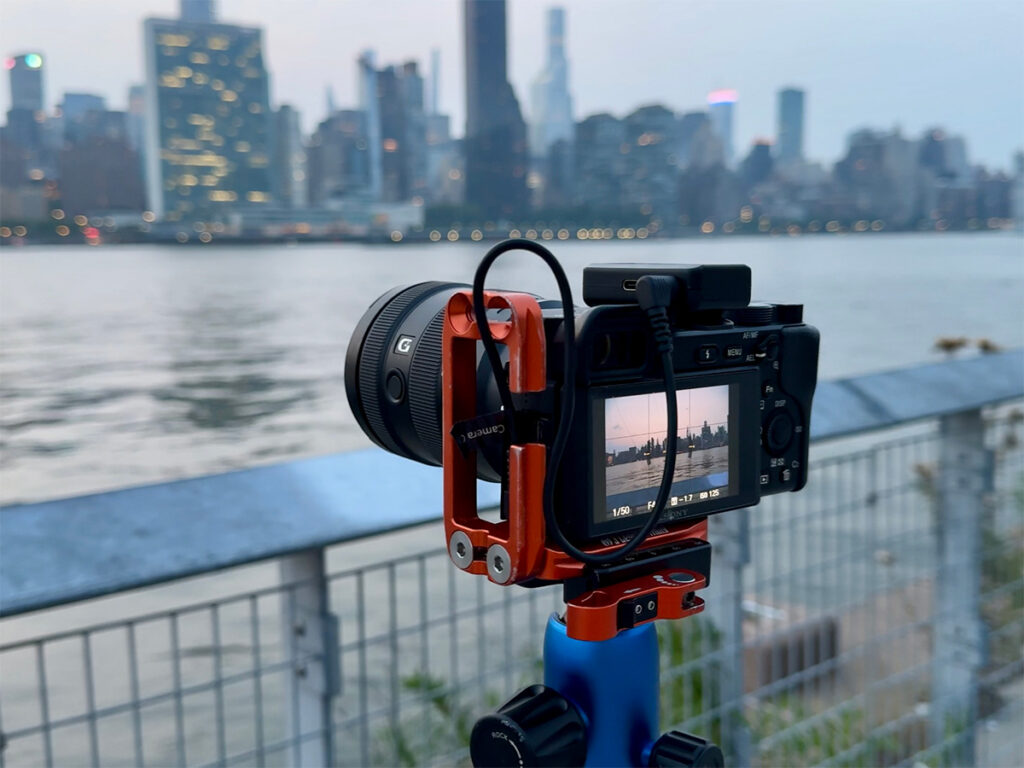
If you’re serious about photography, invest in a sturdy tripod. I use the 3 Legged Thing Leo Travel Tripod made from carbon fiber. It’s lighter than aluminum, lasts 5–10 years, and has a lower price point than most competitors. An added plus is 3-Legged Thing’s color choice to stand out in the market!
I also use their Ellie Short Universal L-Bracket, which makes switching between vertical and horizontal orientations seamless.
What memory cards should photographers use?
Most people know SanDisk, but I prefer Lexar Professional SD cards with at least 128GB. They have fast read/write speeds and give me peace of mind during client shoots. Always bring backups — SD cards are like Tic Tacs for photographers, and you’ll go through a lot of them.
What lighting accessories do I recommend?
Lighting can make or break a shoot. Here are my essentials:
- Collapsible 5-in-1 collapsible circular reflector. It allows you to control and enhance, bounce, and diffuse light by providing versatility in the quality and direction of the light falling on your subject.
- Aputure MC mini light. A pocket-sized LED panel that works on-camera, off-camera, or hidden in a product setup. Magnetic, lightweight, rechargeable. It’s like carrying a mini studio in your pocket!
Phone Accessories
Since I started doing more content creation, I also use this phone tripod and hotshoe to get behind-the-scenes. They’re lightweight to travel with and are perfect for taking standstill photos and videos with your phone. The hotshoe in particular is versatile and can be paired with gimbals and microphones as well.
What’s the best camera bag for travel photography?
When I’m on the go, even just wandering the streets of New York City, I need a bag that’s compact, lightweight, and has good back/shoulder support. To accommodate all my belongings, I utilize Brevite’s Jumper backpack as my camera bag. I like that it’s inconspicuous and looks like an everyday backpack. An added plus is that there are a myriad of colors to choose from.
My Camera Gear For a DIY Home Studio
Godox FV150
This is for those of you who know how to use artificial light. The Godox FV150 kills two birds with one stone because it’s a hybrid of continuous light and strobe. Talk about efficiency! However, to use the strobe, you’ll also have to get a transmitter like the Godox X2T-S TTL Wireless Flash Trigger.
Savage Seamless Backdrops
Savage Seamless is the GOAT for backdrop paper. They come in different sizes, and the best part is they’re matte, which is crucial to avoid reflection from the light. You’ll thank yourself when editing in post-production.
FAQs About My Photography Gear
Q: What’s the cheapest Sony camera for beginners?
A: The Sony a6400 is still one of the best budget-friendly options. It’s lightweight, easy to use, and delivers great image quality for the price.
Q: Do you need a full-frame camera for travel photography?
A: Not at all. APS-C cameras like the Sony a6400 are lighter and more affordable, making them perfect for travel.
Q: What lens should I buy first for a Sony camera?
A: Start with a prime lens like the Sigma 30mm f/1.4 or 50mm f/1.8, otherwise known as “the nifty fifty”. They’re affordable, sharp, and great for portraits or everyday shooting.
Q: How many memory cards should a photographer carry?
A: Always bring at least one backup. I recommend 128GB Lexar Professional SD cards because of their reliability and speed.
Q: What’s the best lightweight tripod for travel?
A: The 3 Legged Thing Leo carbon fiber tripod. It’s sturdy but still compact enough to carry on the go.
Q: Do you need special lighting for content creation?
A: Not always, but portable options like the Aputure MC mini light make a huge difference in quality when natural light isn’t enough.
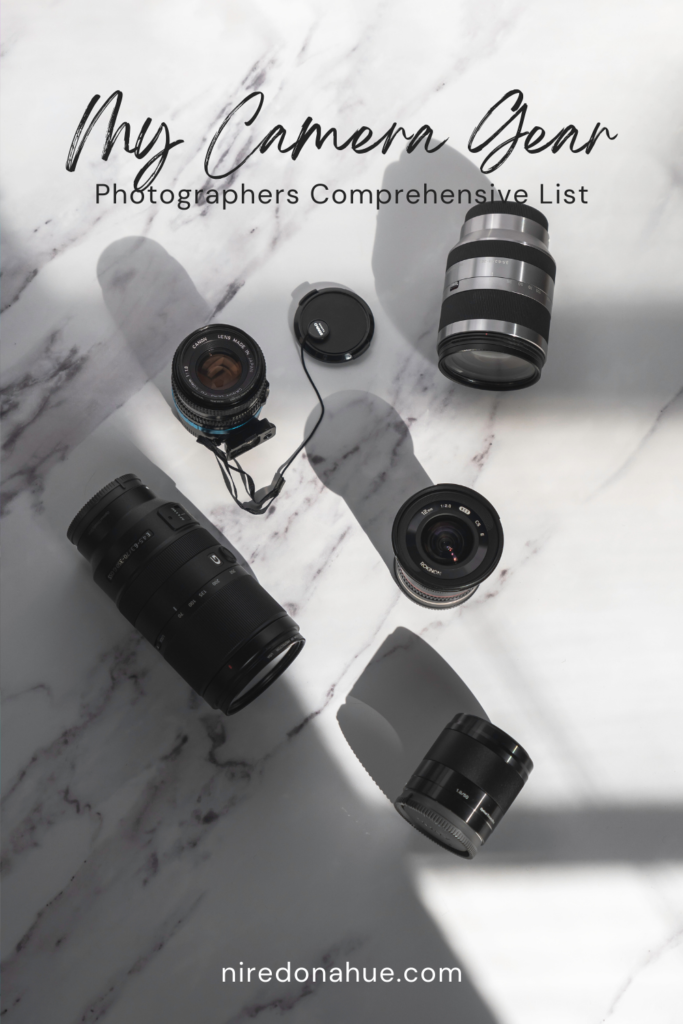
Love this post? Pin it to Pinterest!
Comments +