Disclosure: Some links may be affiliate links. This means that I may earn a small commission if you decide to buy (at no additional cost to you)
Last Updated on January 8, 2026 by Erin Donahue

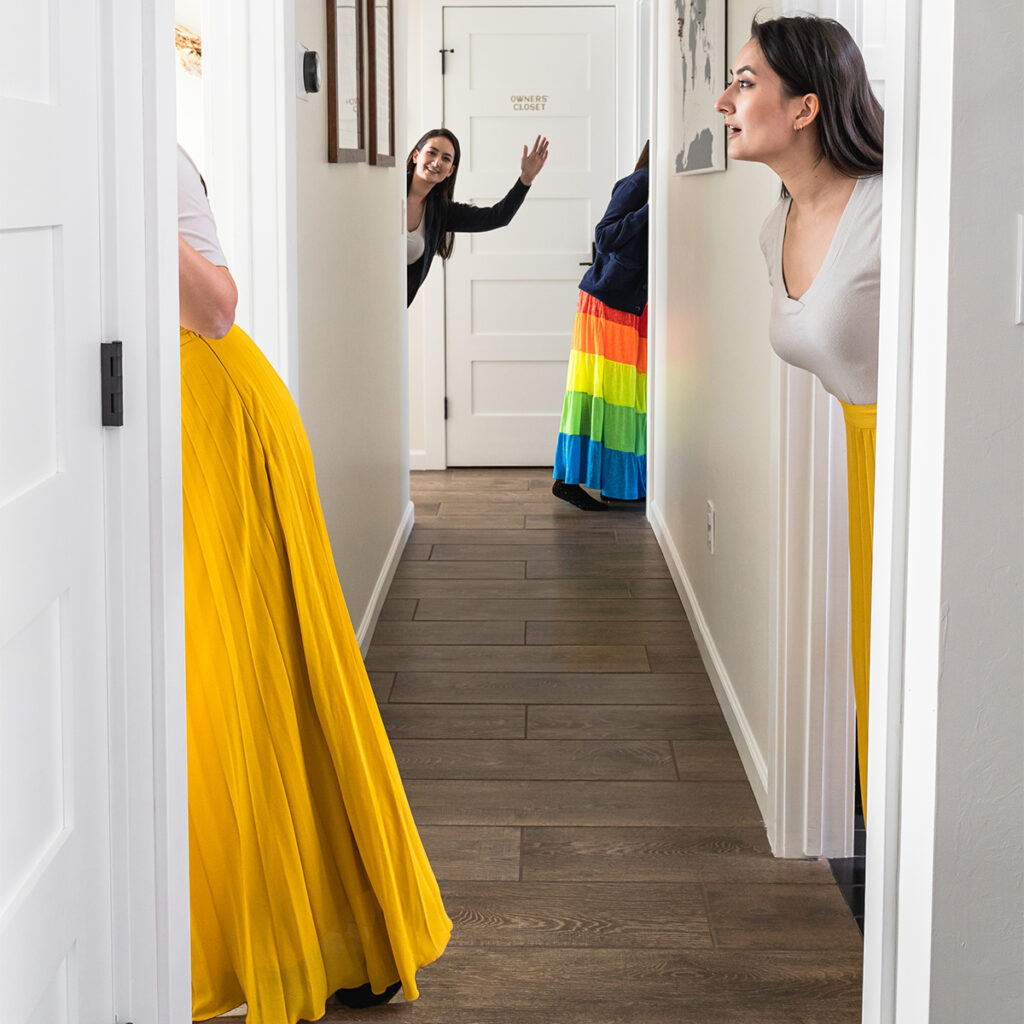
Self-portraits have become increasingly popular in recent years, especially among millennials and Gen-Z, who want to capture their own photos and videos without relying on anyone else. It’s ironic because in the beginning of the social media era, being in the picture was viewed as cringy and self-absorbed. Now, it’s accepted!
One of the most effective tools for taking great self-portraits is a tripod. It’ll be your best friend. In this article, I’ll go over some best practices for using a tripod to take stunning self-portraits.
Choosing the Right Tripod

A sturdy tripod is the foundation of any successful self-portrait. When selecting a tripod, consider its height, weight, stability, and compatibility with your camera. A tripod that is too short or flimsy can lead to shaky and blurry images, while a tripod that is too heavy or bulky can be difficult to carry around. Look for a tripod that is lightweight, easy to set up, and offers a good range of motion. For my camera, I use the Leo by 3 Legged Thing, and for my phone, I use a lightweight portable tripod from Amazon.
Camera Settings To Take Self-Portraits
Adjusting your camera settings can make a big difference in the outcome of your self-portrait. Use a wide aperture (low f-stop number like f/2.8) for a shallow depth of field and blurred background, or a narrow aperture (high f-stop number) for a sharper focus. Adjust your ISO and shutter speed to suit the lighting conditions. For Sony users, the Imaging Edge app allows your phone to become a remote so you can see the framing in your hand. Other manufacturers like Canon have a similar feature too. If the connection is wonky, there’s also the old-school self-timer or remote shutter release.
Composition Considerations

When composing your self-portrait, consider the rule of thirds, which divides the frame into thirds horizontally and vertically. Position yourself off-center, and place your face or body in one of the intersecting points. Use leading lines or points of interest to draw the viewer’s eye towards you.
Position your tripod at a comfortable distance from your camera, and adjust the height and angle to suit your needs. Make sure your camera is level, and use the tripod’s built-in level if available. Experiment with different angles and perspectives to find the perfect framing for your self-portrait.
Lighting
Lighting is key to capturing great self-portraits. Natural light is always the best option, but if you’re shooting indoors or in low-light conditions, consider using a portable light source or reflector to enhance your image. Avoid harsh shadows and direct sunlight, which can create unflattering shadows and overexposure.
Taking self-portraits with a tripod is a fun and creative way to capture your own images and videos. By following these tips, you can achieve stunning results that are sure to impress your friends and followers. Whether you’re a millennial or a Gen-Z, a beginner or a pro, a tripod is a valuable tool that can help you take your self-portraits to the next level.
Watch How to Take Self-Portraits Anywhere on YouTube
Pin This Post!

Comments +