Ultimate Beginner’s Guide on How to Photograph the Northern Lights
Disclosure: Some links may be affiliate links. This means that I may earn a small commission if you decide to buy (at no additional cost to you)
Last Updated on October 25, 2025 by Erin Donahue
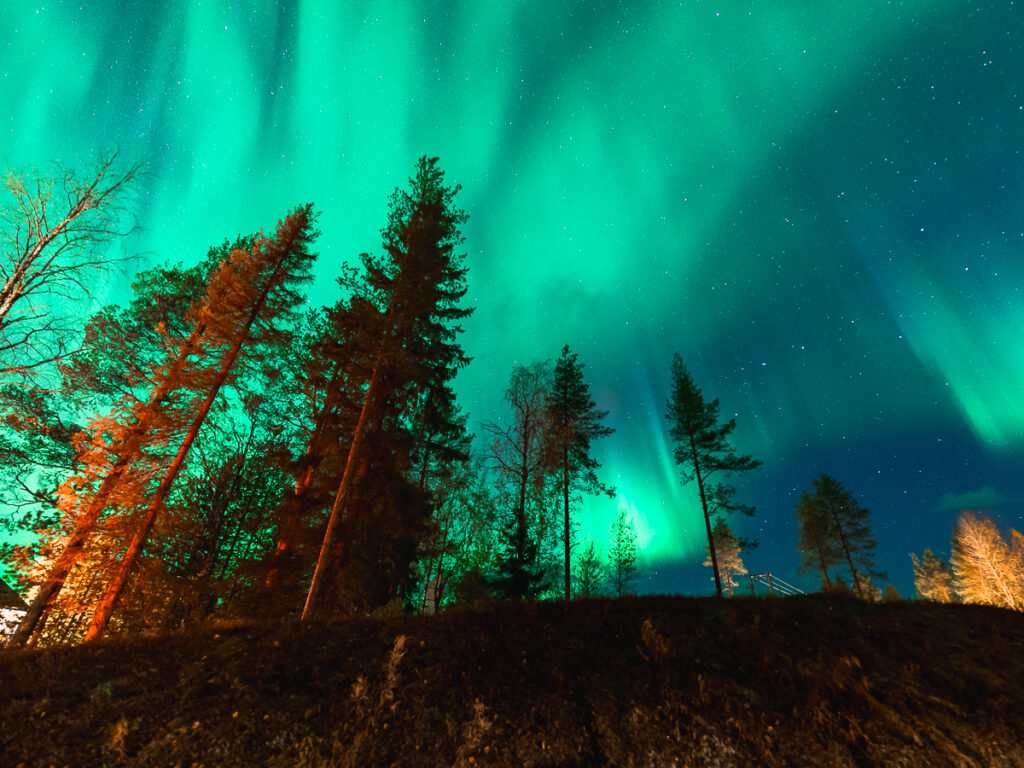
Picture this: it’s so dark that you can’t see your hand in front of you, but you’re standing beneath a sky ablaze with undulating ribbons of green. If you’re lucky, maybe even pink, purple, or blue. The air is crisp, the night is silent, and nature’s most spectacular light show unfolds above you.
This, my friends, is the magic of the Northern Lights. Whether you’re a complete beginner who’s never shot in manual mode or a photography enthusiast wanting to level up your aurora game, I’m about to share everything I know about photographing the Northern Light.
Quick Guide: Northern Lights Photography Essentials
What you need:
- Camera with manual mode (DSLR, mirrorless, or advanced point-and-shoot)
- Wide-angle lens (14-24mm ideal)
- Sturdy tripod
- Extra batteries (the cold drains lithium fast)
Basic settings to start:
- Aperture: As wide as possible (f/2.8 or lower)
- Shutter speed: 1-4 seconds
- ISO: 1600-3200
- Focus: Manual focus set to infinity
Best time of year: September-October and February-March
Best location: Anywhere above the Arctic Circle
Planning a Northern Lights trip? Check out my Rovaniemi autumn itinerary and Where to Stay in Rovaniemi guides for detailed trip planning in Finnish Lapland.
When Are Northern Lights Most Active?
Most people associate the Northern Lights with winter, but I’ll let you in on a little insider expert tip: the most active seasons are actually autumn and spring. Earth’s orientation toward the sun during these seasons maximizes the probability of solar flares interacting with the magnetic field, creating this mesmerizing phenomenon.
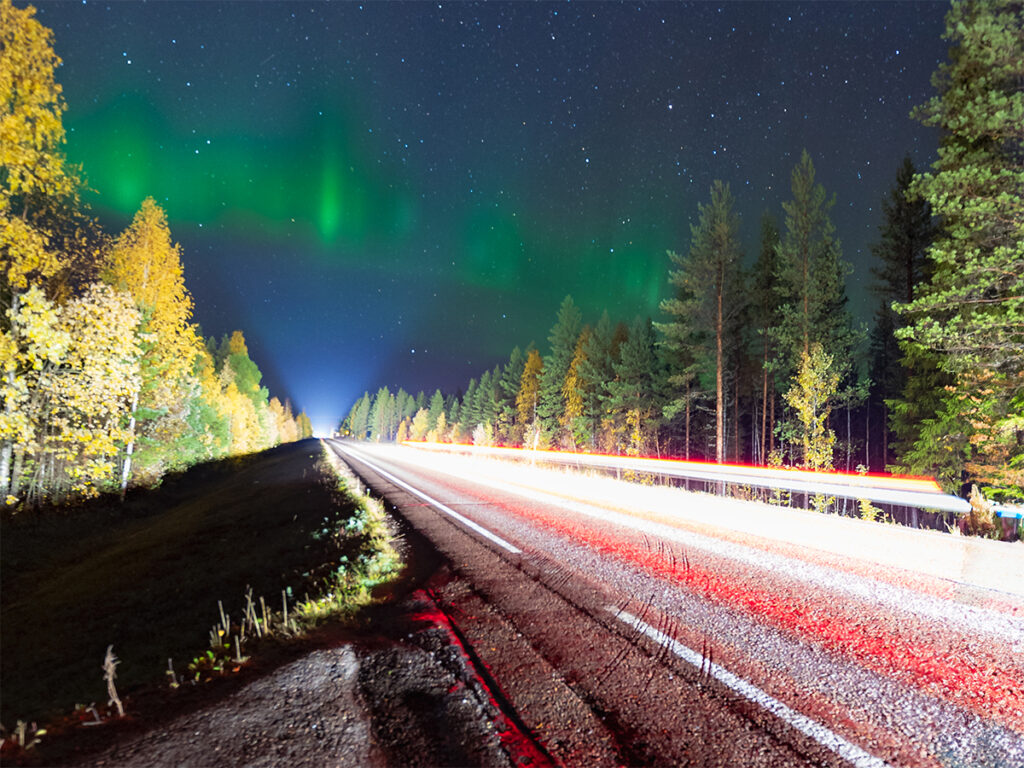
On average, the Northern Lights are most active between 10 pm and 2 am. This is also why I prefer chasing the lights in autumn—you still get those beautiful dark skies but without the bone-chilling cold of winter. Standing in freezing temps for hours is simply not the vibe.
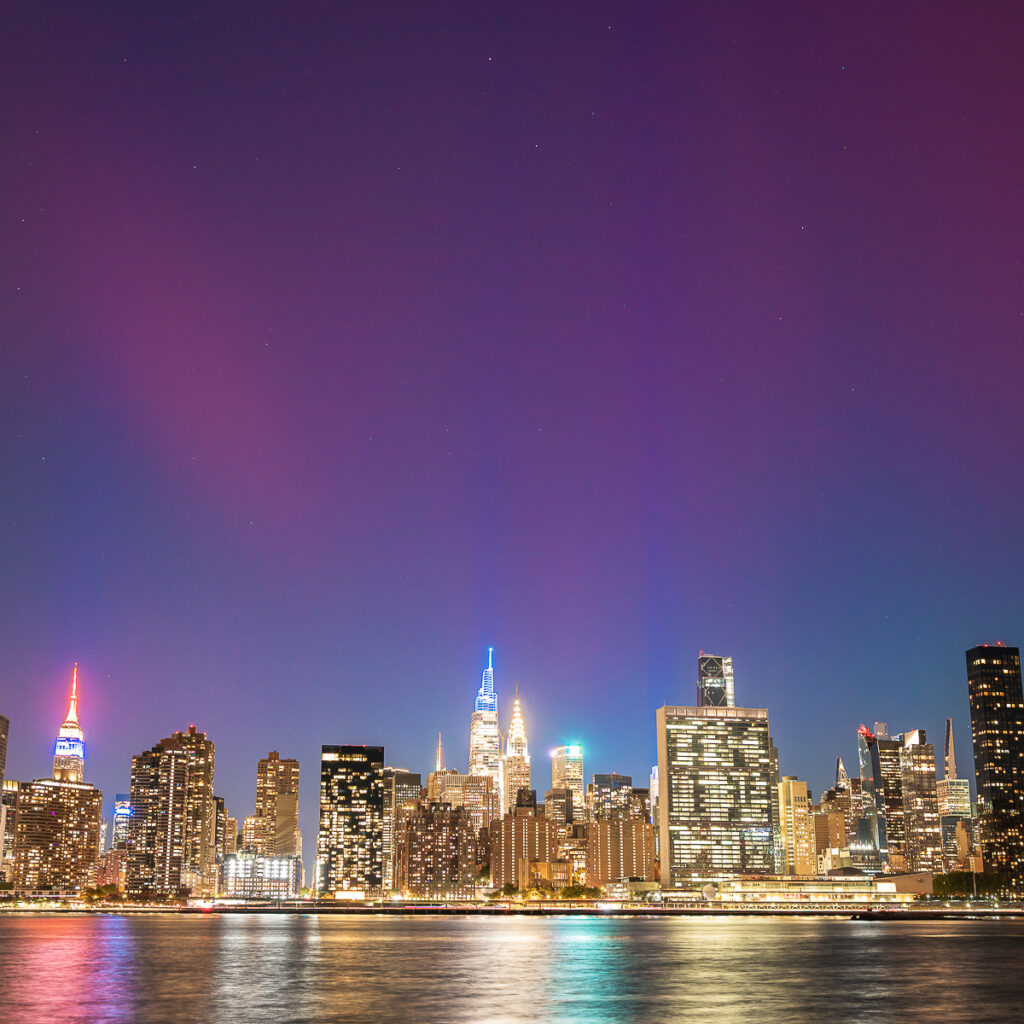
2024 through 2026 is an exciting time because solar activity is expected to increase at the peak of Solar Cycle 25. This cycle creates a jump in sunspots and geomagnetic storms that contribute to stronger aurora forecasts, which we saw in May and October 2024. I even photographed and saw the Northern Lights in New York City with my naked eye—something I thought was impossible because of all the light pollution!
Best Places To See the Northern Lights
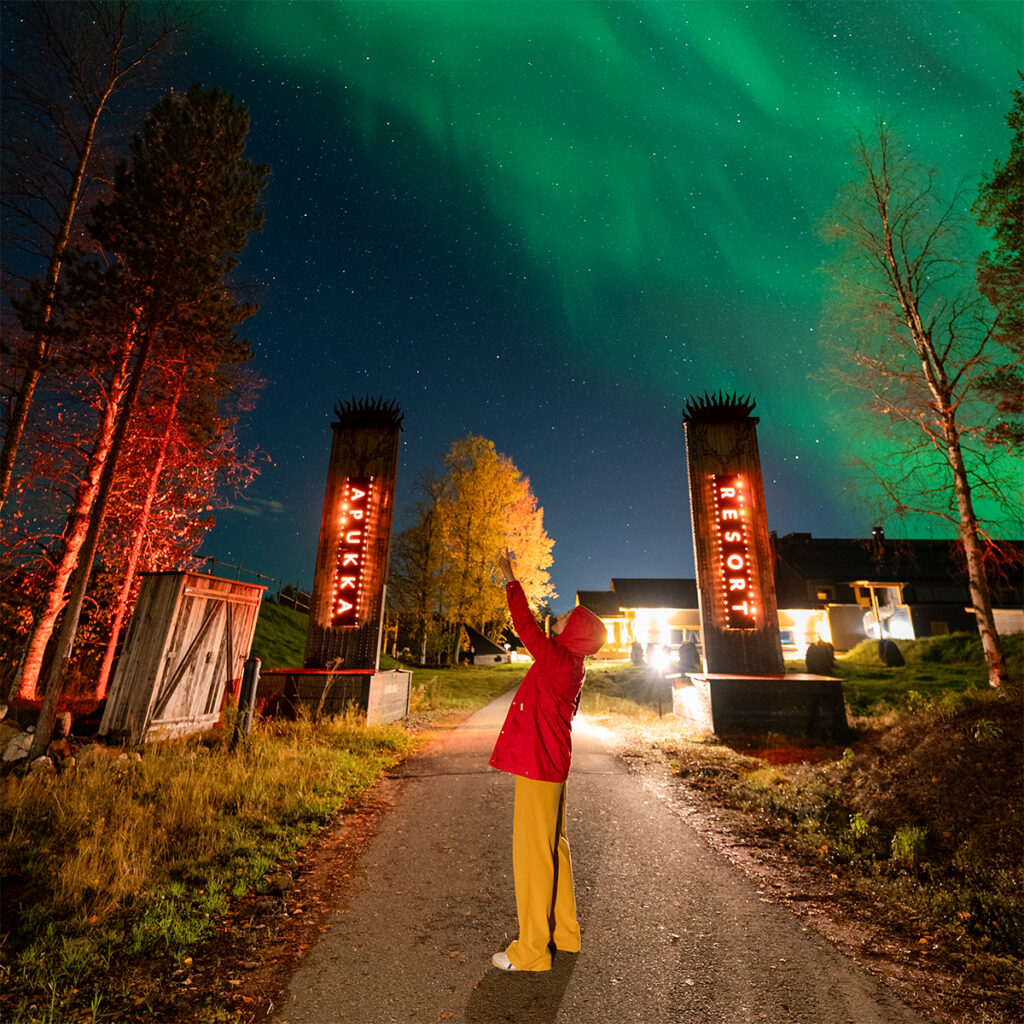
For this trip, I ventured to Rovaniemi, Finland, the heart of Lapland. It wasn’t my first rodeo in the Arctic Circle, though. I’ve previously chased the lights in Narvik, Norway, and Abisko, Sweden.
Top locations I recommend:
- Abisko, Sweden: Low-key considered one of the best spots due to its unique microclimate that often results in clear skies. There’s an 80% chance you’ll see the Northern Lights in Abisko if you stay there for at least three days.
- Tromsø, Norway: Popular hub with great infrastructure
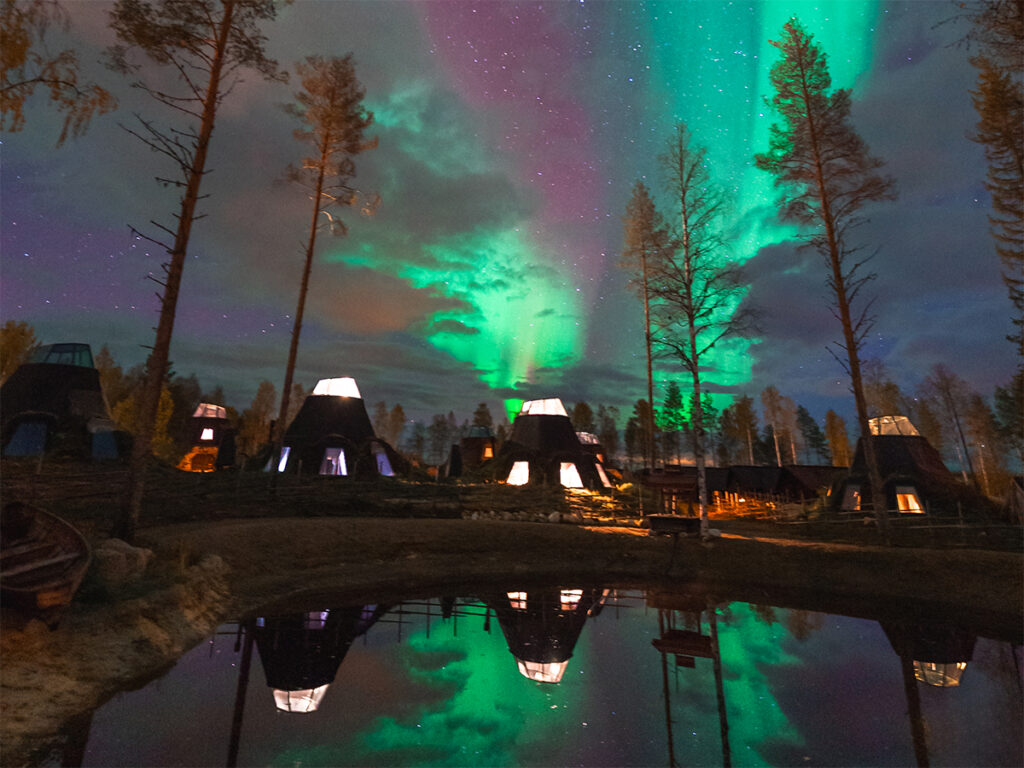
- Rovaniemi, Finland: Accessible and home of Santa Claus Village (see my Rovaniemi guide)
- Alaska & Canada: On my bucket list too, though Europe is surprisingly more economical and often warmer
If you’re anywhere above the Arctic Circle, you’ve got a good chance of seeing the lights at some point.
Essential Camera Gear for Northern Lights Photography
If you’re stressing out about what camera to get, honestly, any camera with manual mode works. You don’t need a $5,000 setup to capture beautiful Northern Lights photos. Even smartphones can handle aurora photography these days.
What Camera Do You Need?
- Manual mode capability (you’ll set aperture, shutter speed, ISO yourself)
- RAW shooting capability (critical for editing flexibility)
- Decent high-ISO performance (you’ll be shooting in near-darkness)
What I use: For this trip, I upgraded from my Sony a7III to rent the Sony a7SIII—a beast in low light, crucial when you’re shooting in near-total darkness. But I’ve captured stunning Northern Lights photos with my a7III too. The a7SIII just pushes boundaries for extreme situations (more on that in the advanced video section).
Lens Selection
When you’re capturing the vastness of the night sky, use the widest lens you can get your hands on. Ideally, in the 14-24mm range. The wider your aperture (lower f-number), the more light your camera gathers. Look for:
- f/1.4 – f/2.0: Excellent
- f/2.8: Very good (most common)
- f/3.5 or higher: Challenging but possible
For this trip to Rovaniemi, I went with the Sigma 14mm f/1.4. The f/1.4 aperture lets in slightly more light than Sony’s 14mm f/1.8, which makes a difference when pushing your camera to its limits. Fair warning, though: when I got the Sigma in the mail, I was flabbergasted! This lens is obnoxiously huge – I hate it. It’s basically the size of a telephoto lens, but with only one function, and it took up so much space in my bag.
Budget alternatives:
- Rokinon/Samyang 14mm f/2.8 (affordable, manual focus)
- Your kit lens at its widest setting (less ideal but workable)
Essential Accessories
- Sturdy tripod (non-negotiable): You’re shooting long exposures in complete darkness, often with wind. A wobbly tripod ruins everything. Bring the sturdiest one you own.
- Extra batteries: Cold temperatures drain batteries FAST. Bring at least 2-3 spares and keep them warm in the inside jacket pockets until needed.
- Remote shutter or timer: Touching your camera creates vibration that blurs photos. Use a remote shutter release or your camera’s 2-10 second timer.
- Headlamp with red light mode: You need to see your camera settings without destroying your night vision. Red light preserves it better than white light.
- Hand warmers: For your comfort AND keeping batteries warm between shots.
Northern Lights Camera Settings Explained
Now that we’ve got our gear sorted, let’s dive into the heart of Northern Lights photography: the camera settings. This is where the magic happens. Get these settings right, and you’ll capture images that make your friends green with envy (pun intended). But remember, these are STARTING POINTS! Similar to other long exposure stuff I’ve talked about, you’ll need to adjust based on the intensity of the lights and the ambient light in your environment.
The Exposure Triangle for Northern Lights
You need to balance three settings: aperture, shutter speed, and ISO.
- Aperture (f-stop): Set it as wide as your lens allows (f/1.4, f/1.8, f/2.8). Wider aperture = more light enters the camera.
- Shutter Speed: Start with 1-4 seconds. It’s long enough to gather light, but short enough to keep the aurora movement sharp.
- ISO: Amplifies light sensitivity in darkness, so start with 1600-3200. It’s ok to lean into high ISO’s with the technological advancement of camera sensors today. My typical ISO range is 1600-6400, depending on aurora brightness
Manual Focus in Complete Darkness
This trips up beginners more than anything else. Autofocus doesn’t work in the dark. Use your camera’s focus peaking feature if available. It highlights sharp areas in live view.
Manual focus technique:
- Switch your lens to manual focus (MF)
- Set focus ring to infinity (∞ symbol), but many lenses focus slightly past infinity
- Find a distant light (star, distant building light, horizon glow) in live view mode
- Zoom into live view 10x on that light
- Adjust focus manually until the light becomes a sharp pinpoint
- Lock focus
Shoot in RAW Format
RAW files capture all sensor data, giving you massive editing flexibility for exposure, white balance, and color adjustments. JPEGs compress data and bake in settings. You can’t recover blown highlights or adjust colors as effectively. Photographing the Northern lights almost always needs post-processing, so give yourself as much data to work with.
Advanced: Filming the Northern Lights (Video)
For video, things get tricky. Normally, we follow the 180-degree shutter rule (doubling the shutter speed to the frame rate for natural motion blur). In the dark Arctic night, though, we need to break some rules.
Video settings I used:
- Aperture: Wide open (f/1.4)
- Shutter Speed: Set to match your frame rate (e.g., 1/24 for 24 FPS)
- ISO: Prepare to push your limits—I cranked mine up to 80,000!
Yes, you read that right—ISO 80,000. I’ve never used such a high ISO in my life, but this is precisely why I brought the a7SIII. I was quite impressed with the output. Don’t be afraid of noise, just lean into it.
Apps & Resources to Photograph the Northern Lights
Aurora forecasts:
- My Aurora Forecast (app)
- Space Weather Live
- Local forecast services in your destination
Weather checking:
- Clear Outside (detailed cloud cover forecasts)
- Your phone’s weather app
- Local weather services
Planning:
- PhotoPills (sun/moon/Milky Way planning)
- Google Maps (scouting locations)
You’re Ready to Photograph The Northern Lights
Now that you’re armed with all this knowledge about timing, location, gear, and settings, you might think you’re guaranteed to capture the perfect Aurora shot. However, and this is what makes Northern Lights photography so exhilarating, there’s always an element of unpredictability.
Photographing the Northern Lights is as much about patience and perseverance as it is about technical know-how. Some nights, you might stand in the cold for hours and see nothing but a starry sky. Other nights, the heavens might explode into a symphony of colors that leaves you scrambling for your camera and fumbling with your settings.
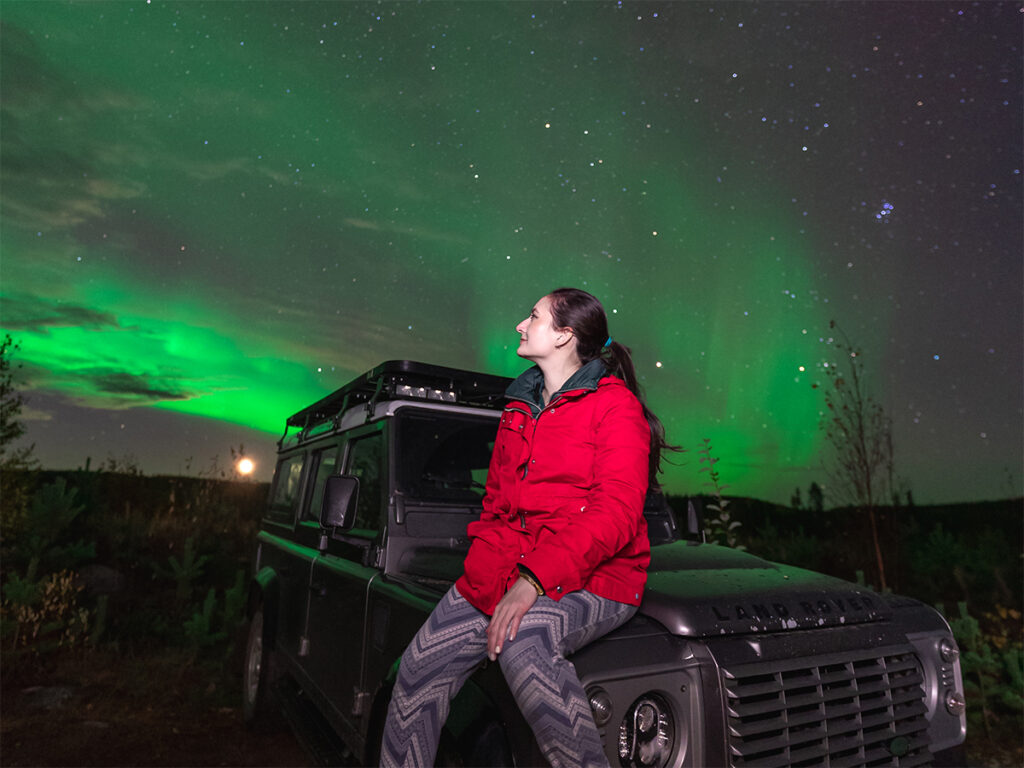
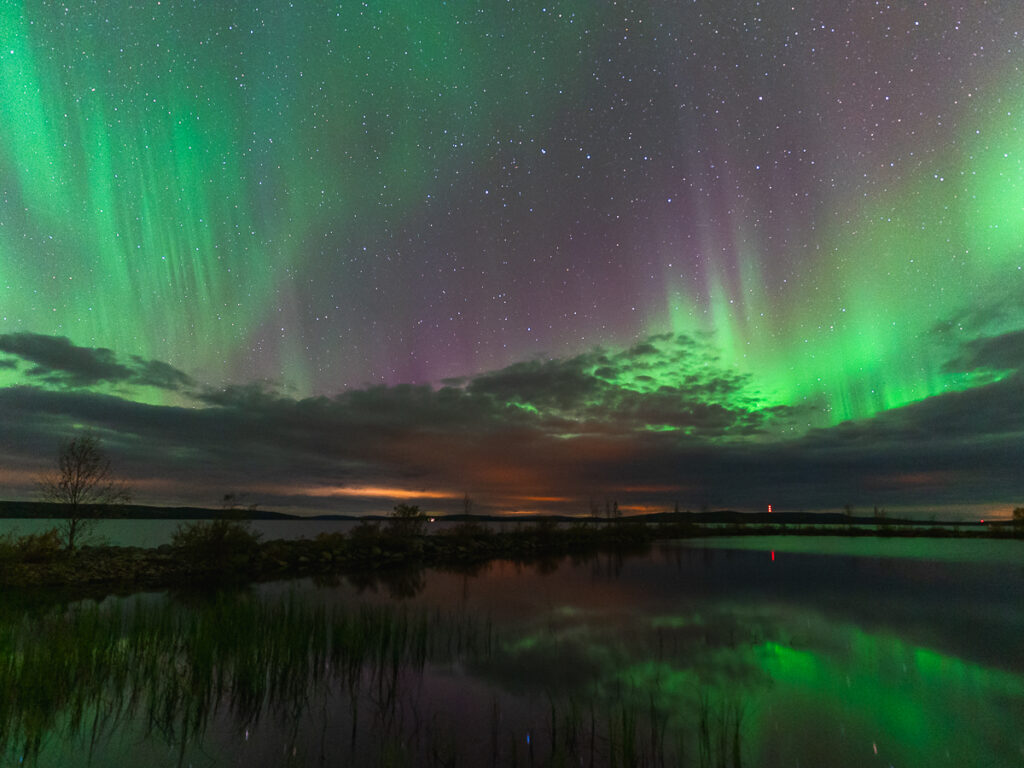
During my week in Rovaniemi, rain clouds obscured the sky for days. Rather than giving up, I joined a local aurora hunter in his rugged Defender and chased the lights west toward the Swedish border for two hours. When the sky finally cleared, ethereal green ribbons swayed and shimmered overhead, reflecting off nearby lakes. In one magical moment, I captured a shot with the crescent moon, Milky Way, and Aurora all dancing together.
Remember, no photo or video can truly capture the magic of seeing the Aurora with your own eyes. So while you’re out there with your camera, don’t forget to take a moment to simply look up and marvel at one of nature’s most spectacular shows dancing above you.
Frequently Asked Questions on How to Photograph the Northern Lights
Q: What camera settings should I use for Northern Lights?
A: Start with aperture wide open (f/2.8 or lower), shutter speed of 1-4 seconds, and ISO 1600-3200. Shoot in manual mode and RAW format. Adjust based on aurora brightness—brighter displays need faster shutter speeds, fainter displays need higher ISO or slower shutter.
Q: Can I photograph Northern Lights with my phone?
A: Modern smartphones have become really sophisticated. If it has the ability for long exposure it can capture Northern Lights.
Q: What’s the best lens for Northern Lights photography?
A: Wide-angle lenses (14-24mm) with fast apertures (f/2.8 or lower) work best. Wider focal lengths capture more sky, and larger apertures gather more light in dark conditions.
Q: When is the best time to photograph Northern Lights?
A: Autumn (September-October) and spring (February-March) offer the most active aurora seasons due to Earth’s orientation toward the sun. Within each night, peak activity occurs between 10 pm and 2 am.
Q: Where are the best places to photograph Northern Lights?
A: Anywhere above the Arctic Circle. Top spots: Abisko, Sweden (80% success rate for 3+ day stays); Tromsø, Norway; Rovaniemi, Finland; Fairbanks, Alaska; Yukon, Canada. Dark skies away from city light pollution are essential.
To keep up to date with everything I share, follow along on my social media and read up on what camera gear I use when I travel.
Leave a Reply
is the creative studio of Erin Donahue, offering photography, videography, and content creation services for brands, hotels, tourism boards, and publications.
Based in New York City, but available globally, this multi-disciplinary digital creative left a career in the hedge fund space to pursue her passion as a travel and brand photographer, creating imagery that resonates with audiences. She approaches every project with a focus on storytelling, producing visuals that engage and inspire.
Her work has been commissioned by brands like Sony, Apple, and Google, and the content she has created has reached millions across social media.
To keep up to date with everything she shares, follow along on social media and read up on what camera gear she uses to capture the shot.
Niredonahue®
