How to Shoot a Hyperlapse With a Phone or Camera
Disclosure: Some links may be affiliate links. This means that I may earn a small commission if you decide to buy (at no additional cost to you)
Last Updated on May 6, 2025 by Erin Donahue
Ever wonder how people create those smooth, dynamic videos that feel like you’re flying through a city or across a landscape? That effect is called a hyperlapse, and it’s one of the most visually striking motion techniques in photography and video!
A hyperlapse is a type of timelapse, but instead of keeping your camera still, you move it slightly between each frame. When you play the images back at speed, you get this surreal motion that makes the viewer feel like they’re being pulled through the scene. This beginner-friendly tutorial will show you how to shoot a hyperlapse with your phone or camera, with no fancy equipment required.
Timelapse vs. Hyperlapse: What’s the Difference?
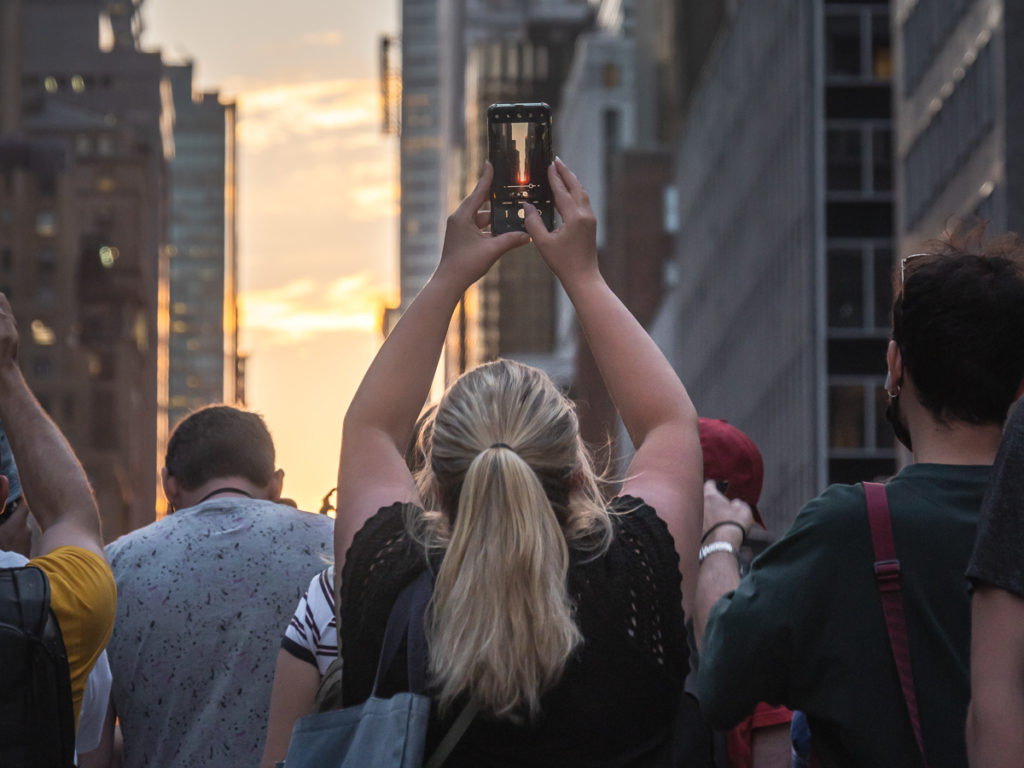
Both timelapse and hyperlapse involve capturing frames over a period of time and playing them back quickly. But the key difference lies in motion. Hyperlapses shine when shooting scenes full of motion. Think cityscapes, crowds, or other fast-changing environments. While I usually avoid people in my shots, in a hyperlapse, they help amplify the feeling of time and movement.
- Timelapse: The camera stays stationary. The world moves while your camera stays put.
- Hyperlapse: The camera moves. You capture a new position for each frame, which adds directional motion and depth.
How to Shoot a Hyperlapse With Your Phone
- Turn on Gridlines
- Open your native camera app and swipe to the Timelapse mode. Set your digital zoom if needed.
- Keep It Centered and Start Walking
- Hit record, then slowly walk forward toward your subject. Try your best to keep your subject centered in the middle grid throughout the movement. Most phones today have built-in stabilization that will help smooth out any minor bumps, even if your hands aren’t steady.
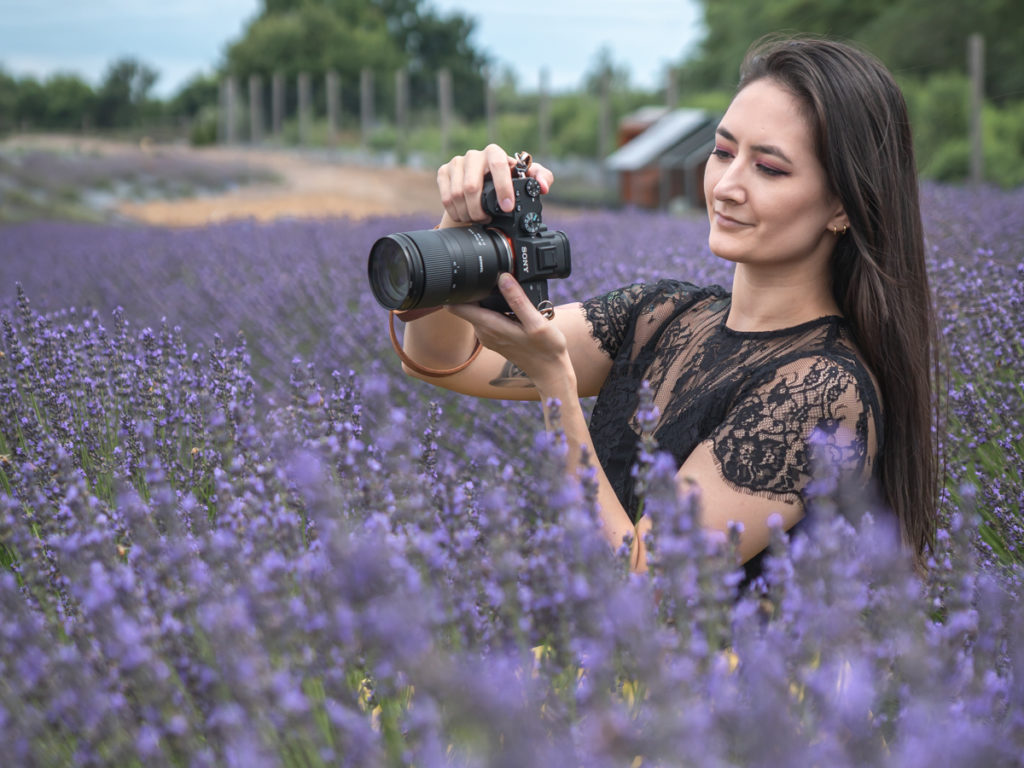
How to Shoot a Hyperlapse With a Camera
Kind of similar to shooting with a phone, but there’s a big difference. You’ll be capturing still images, not a video file. If your camera has an interval timer, you can use it, but manually pressing the shutter works just as well. Fair warning: you might look a little silly doing this in public. But the final result is worth it!
- Activate the grid overlay in your viewfinder. The Diagonal + Square Grid is ideal because it gives you a center point to keep your subject aligned. The Rule of Thirds can also work. Again, the goal is to keep your subject perfectly centered in every frame.
- Step and Shoot. Snap a photo, take a small step forward, realign the subject to the center, and snap again. Repeat this pattern while keeping your spacing as consistent as possible until you reach your subject.
- Post-processing: Once you’ve captured all your frames, import them into a video editor like Adobe Premiere Pro. Use warp stabilization to smooth out the movement and adjust the speed as needed to create that flowing hyperlapse effect.
Room to Experiment
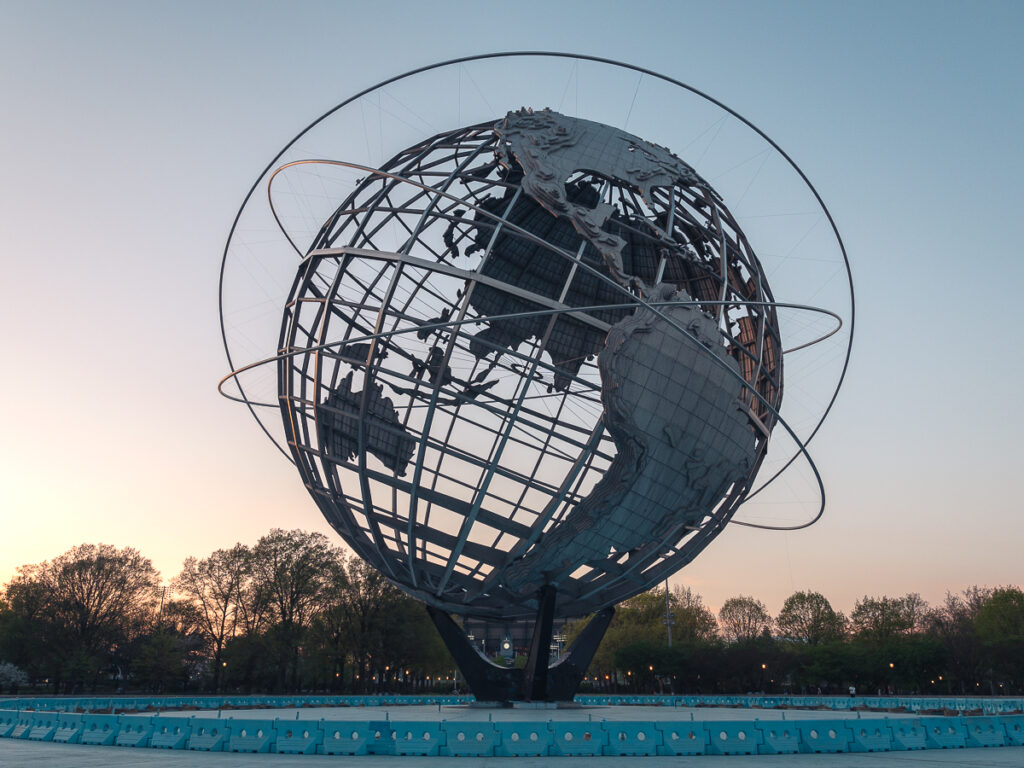
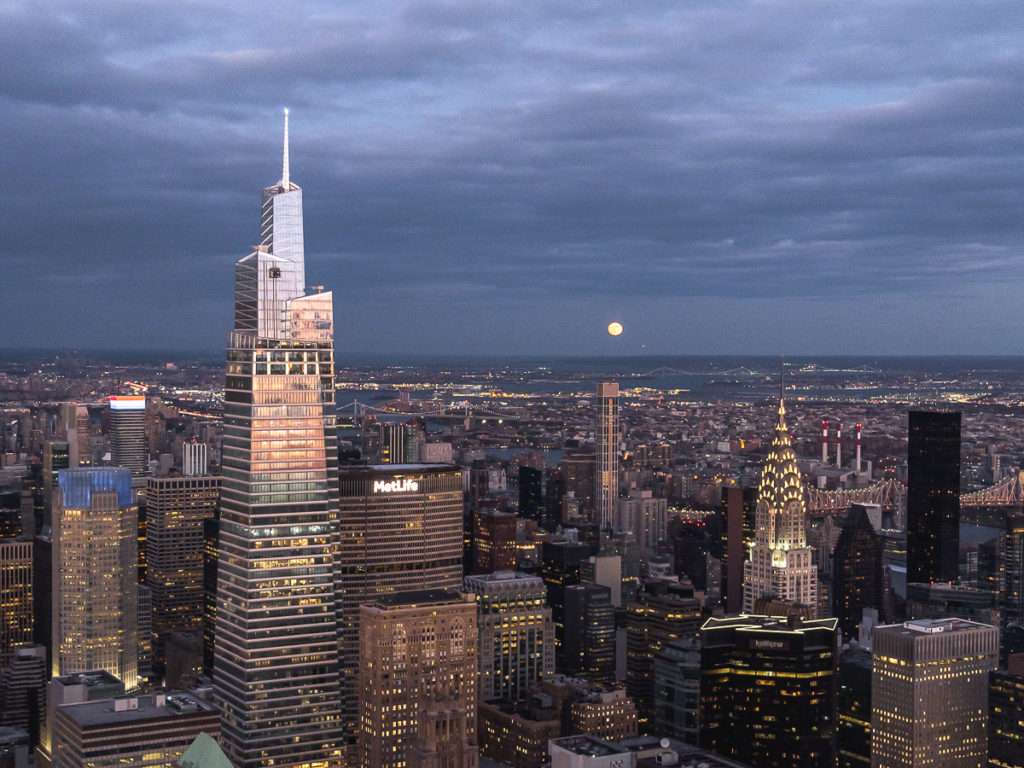
Hyperlapses aren’t limited to city streets. You can experiment with landscapes, parks, architecture, or even indoor scenes. Just remember to keep your camera movement smooth and your subject centered. Try shooting during golden hour, cloudy days, or at night to add extra drama to your footage. Play around with subject distance and focal length to see how the motion shifts.
Hyperlapses may look complicated, but with a little patience (and maybe a steady stride), you can create stunning results even with your phone. Whether you’re exploring a busy city or documenting your travels, this technique helps you tell a story that’s full of motion, energy, and time.
Watch on YouTube
To keep up to date with everything I share, follow along on my social media and read up on what camera gear I use.
Leave a Reply
is the creative studio of Erin Donahue, offering photography, videography, and content creation services for brands, hotels, tourism boards, and publications.
Based in New York City, but available globally, this multi-disciplinary digital creative left a career in the hedge fund space to pursue her passion as a travel and brand photographer, creating imagery that resonates with audiences. She approaches every project with a focus on storytelling, producing visuals that engage and inspire.
Her work has been commissioned by brands like Sony, Apple, and Google, and the content she has created has reached millions across social media.
To keep up to date with everything she shares, follow along on social media and read up on what camera gear she uses to capture the shot.
Niredonahue®
