Disclosure: Some links may be affiliate links. This means that I may earn a small commission if you decide to buy (at no additional cost to you)
Last Updated on January 8, 2026 by Erin Donahue
When it comes to commercial photography, the image of a large studio space that’s well-equipped often comes to mind. However, such a studio can be costly, whether you somehow have the space at home, it comes with its own rental lease. But fear not! With just one light and a few smart tools, you can create professional-quality images right from home. Here’s how I built mine and what I’d recommend if you’re looking to do the same.
Use What You Already Have
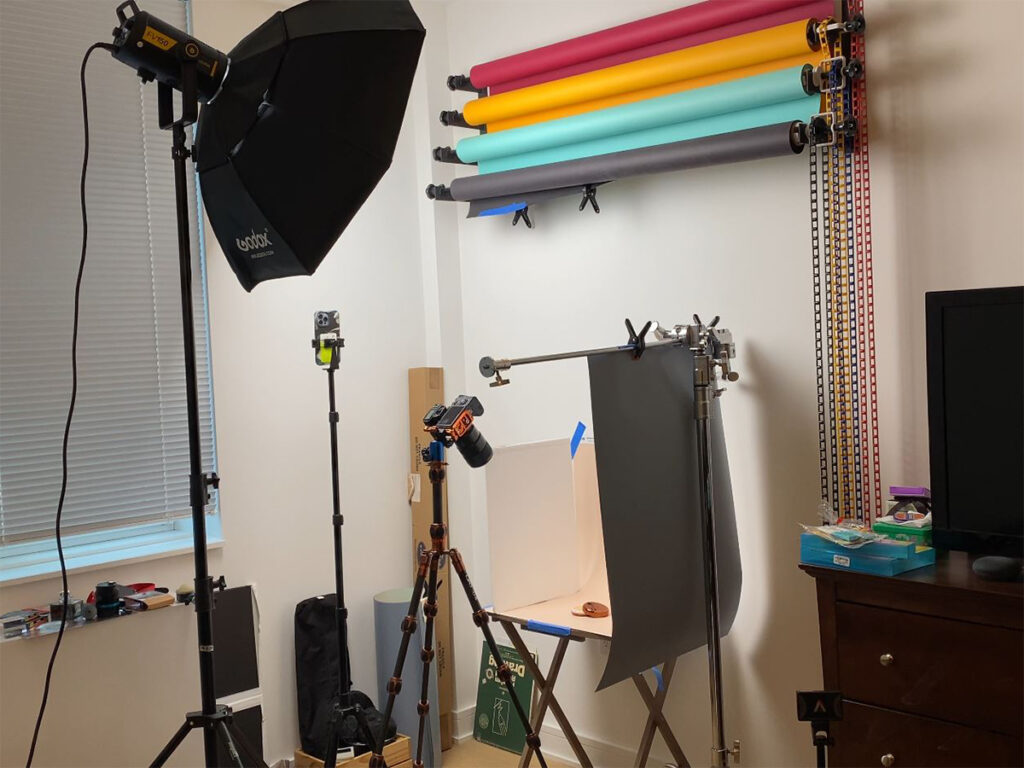
Identify a small space in your home that you can dedicate to your photography setup. You don’t need a large area; even a corner will do. Next, assess the furniture and equipment you already own. I use a small, janky foldable table from Walmart. It doesn’t have a lot of surface area, but since I mainly photograph small products, it’s enough. Remember, it’s all about being resourceful!
Camera Body and Lens
While having a good camera body is important, the lens plays a more crucial role, especially in minimizing distortion. Aim for a lens of 50mm or higher, and if possible, consider investing in a macro lens. I use Sony’s 90mm for detailed close-up shots.
Natural vs. Artificial Light
Natural light is beautiful, and plenty of photographers start with it (I certainly did), but it’s also unpredictable. Clouds, time of day, and season all affect your results. If you want consistency, artificial lighting is the way to go.
Artificial Lighting
There are endless lighting options on the market, ranging from higher-end brands like Aputure and Profoto to budget-friendly picks like Godox and Neewer.
I use the Godox system because its quality is good enough for me and gets the job done. The main light I use is the Godox FV150. It’s a hybrid strobe and continuous light that can be used for both photos and videos, making it ideal for content creators like me. When it’s on continuous light, the fan is quiet and the color temperature is set to 5600 kelvin, which equals daylight. It’s dimmable and has a Bowens mount for modifiers. For strobe, it supports high-speed sync speeds with a transmitter. I use a compatible Godox Wireless Flash Trigger Transmitter and also have a Godox Hotshoe Flash. It’s a strobe light that I can use as a second light source in the studio, and I also bring it with me to photograph events.
However, the unsung hero in my kit is the Aputure MC mini panel light. This thing is palm-sized, magnetic, and battery-powered, which makes it super versatile. I use it for accent colors, subtle fill light, or even hidden in a scene for a glow effect. With 360° hue control and full RGB, it covers literally any color without gels. And because it charges wirelessly, I don’t have to deal with cables cluttering up my small studio setup.
Whiteboards
White foam boards are inexpensive alternatives to professional light modifiers. They act as large, soft light sources that bounce light, creating flattering and even lighting for your subjects. They are particularly useful when working with limited lighting equipment.
There are whiteboards from companies like V-Flat World that are more necessary when working with people, unless you make one from scratch, but I just use some foam boards from Walmart since my subjects are smaller. You can get these at any local craft or dollar store.
C-Stand

Now to hold the camera, I’ll use either a tripod or a C-stand. A C-stand is a versatile tool for holding your camera and other equipment. While not necessary at the beginning, it becomes valuable as you delve into commercial photography and need to ensure sharpness in your images through compositing.
Compositing is when you take multiple pictures of the same scene, but focus sharpness on different parts and stack them together in post-processing. Attention to detail is extremely important, especially with products.
Backgrounds
Backgrounds are where your images can really come to life. For liquid or cream products, I use vinyl backdrops because they’re wipeable and reusable. Club Backdrops, a UK company that has free shipping in the US, is my go-to for variety and bundles.
For seamless paper, I use a Neewer wall mount system that holds up to four Savage Universal rolls at once. It’s such a space saver compared to traditional background stands and makes it easy to switch between colors without collapsing setups. In a small home photography studio, that efficiency is everything! Of course, if you’re just starting out, even a roll of wrapping paper works. But if you plan to shoot often, a wall mount is one of the best upgrades you can make.
Go-To Product Photography Styling Ideas
Creating a professional home photography studio doesn’t have to be expensive or take up too much space. With a bit of creativity and thought, you can achieve professional-quality results right in your own home. Experiment, try new things, and most importantly, have fun with your photography!
- Keep it simple – less is more. Use up to 3 props max
- Flatlays
- Mirror play
- Water splashes, water shadow
- Product smear
- Shadow play
- Floating products
- Add a human element, like a hand
- Light reflections
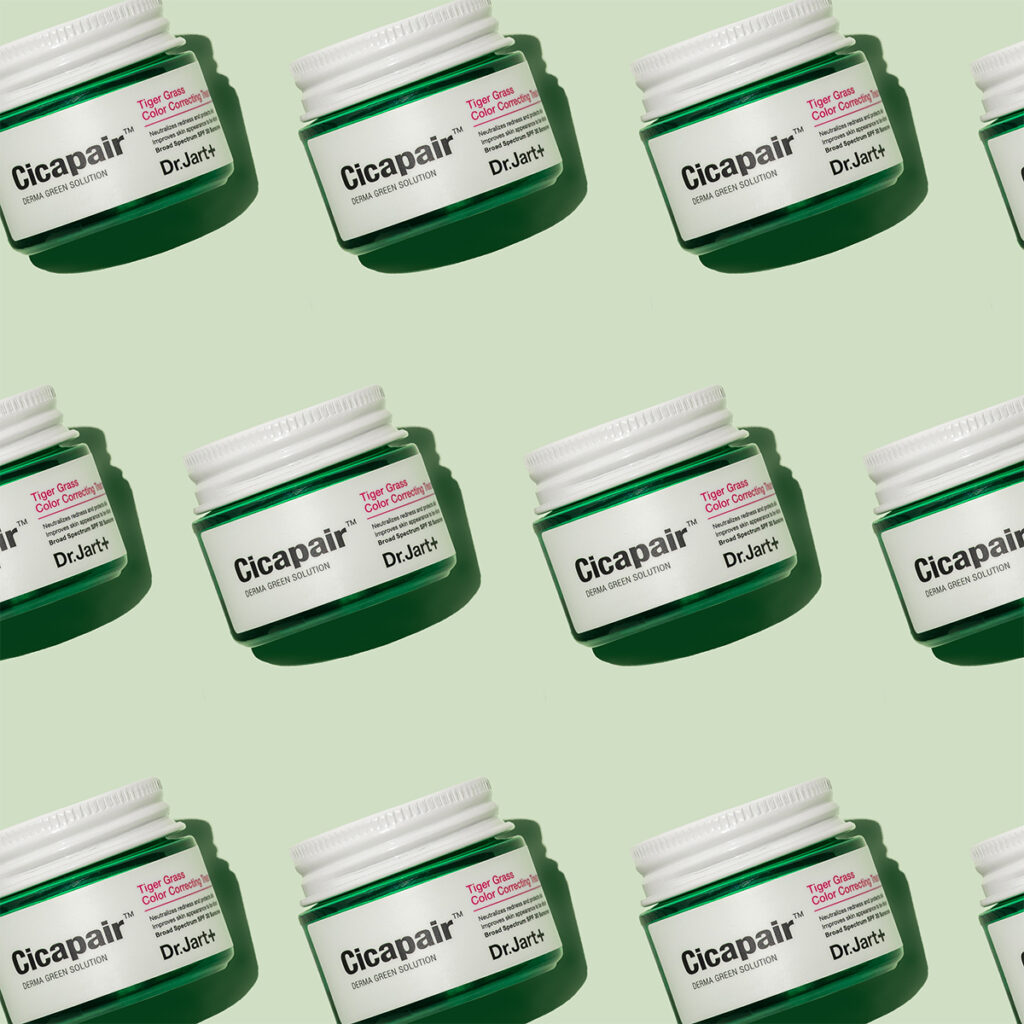
- Repeat patterns
Watch My DIY Home Photography Studio With One Light on YouTube
FAQs About Setting Up a DIY Home Photography Studio
Q: What is the best light for a home photography studio?
A: If you only get one light, go with a hybrid light like the Godox FV150. It’s versatile, reliable, and gives you consistent results for both photos and video.
Q: Can I use natural light instead of studio lights?
A: Yes, but natural light changes quickly, which makes it harder to control. An artificial light gives you much more consistency and flexibility.
Q: How do I save space with photography backdrops?
A: Instead of a traditional stand, use a wall-mounted backdrop system like the Neewer 4 roller wall mount. It keeps your space clear and makes setup faster.
Q: What’s the most versatile portable light?
A: The Aputure MC mini panel is one of the best. It fits in your pocket, is magnetic, and gives you any color on demand — perfect for quick creative setups.
Q: Can I create professional-looking photos at home with just one light?
A: Absolutely. With the right light placement, a backdrop system, and a portable accent light, you can shoot professional portraits, product photos, and creative setups all at home.
Ms. Donahue,
Thank you very much for doing your video with tips on getting started with a home photo studio ! I am in the middle of building one — [I found a 16 x 24 table on sale that raises up to almost 6 feet….I want to incorporate my 2 Godox TT600 flashes with my homemade continuous “model” lights, but will check out the FC150 as the budge permits….Cheers !
Chip Robison, PHARMD
Atlanta
Best of luck with your setup! Cheers!