Gantry Plaza State Park Natural Light Headshots
September 30, 2023
Disclosure: Some links may be affiliate links. This means that I may earn a small commission if you decide to buy (at no additional cost to you)
Last Updated on January 8, 2026 by Erin Donahue

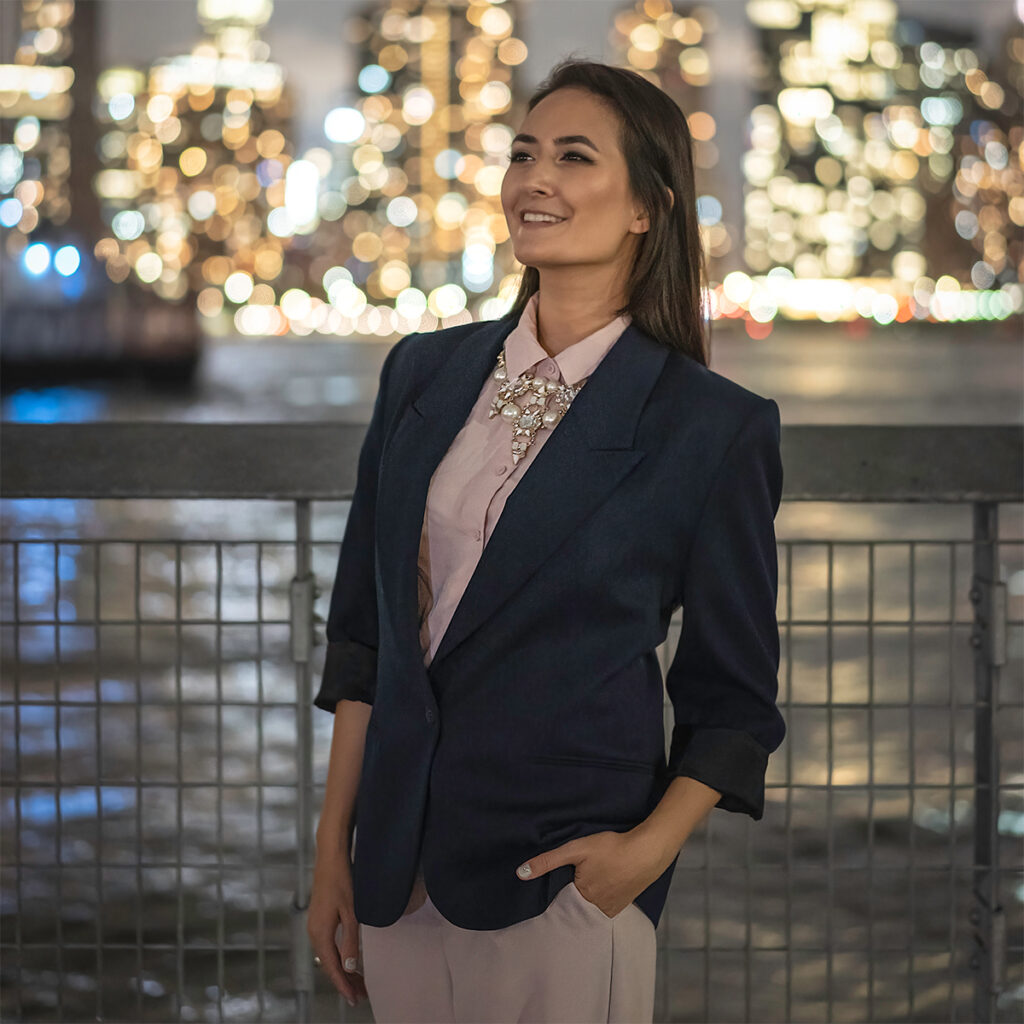
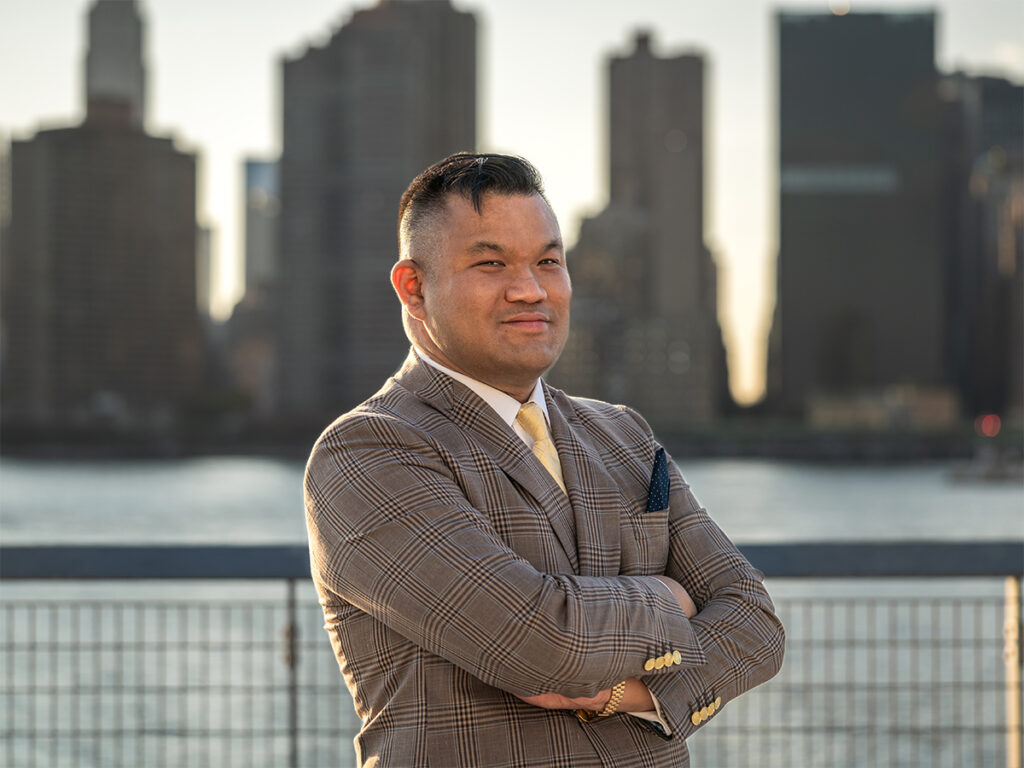
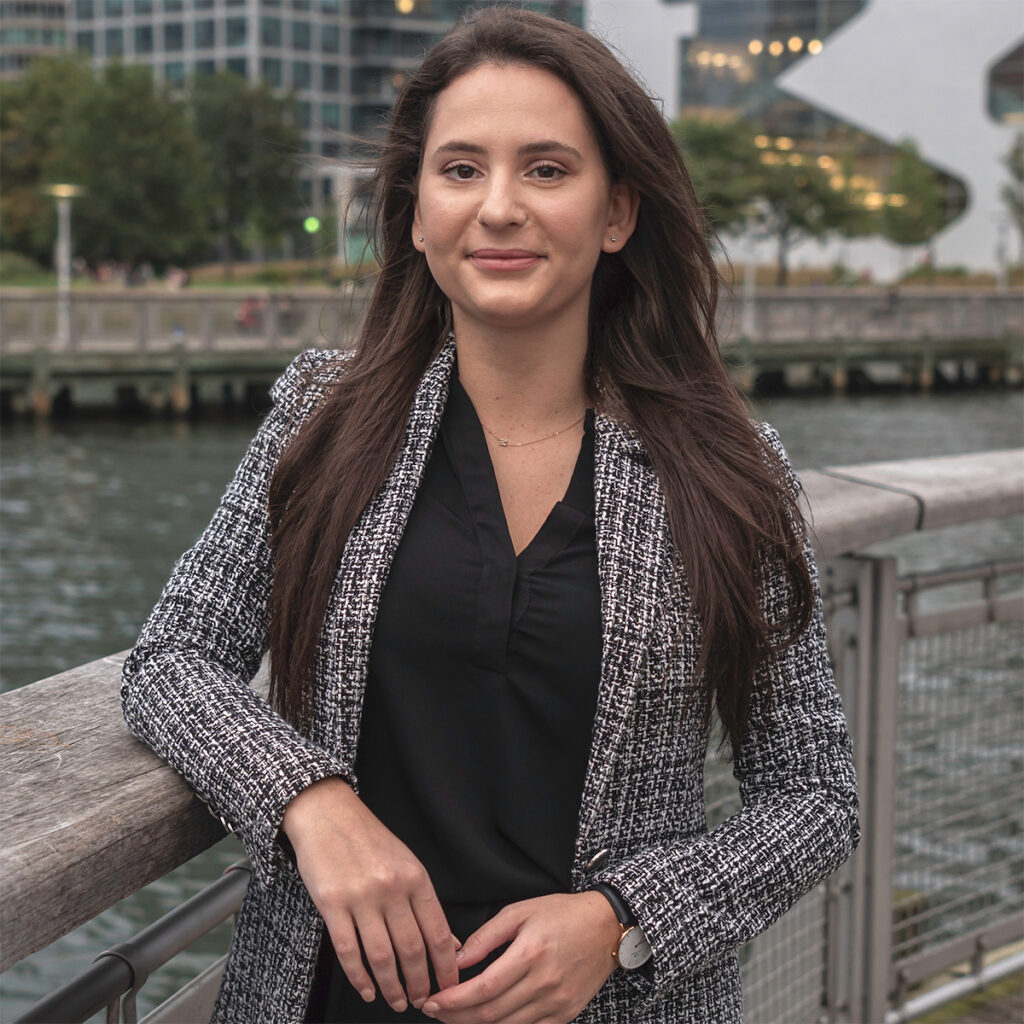
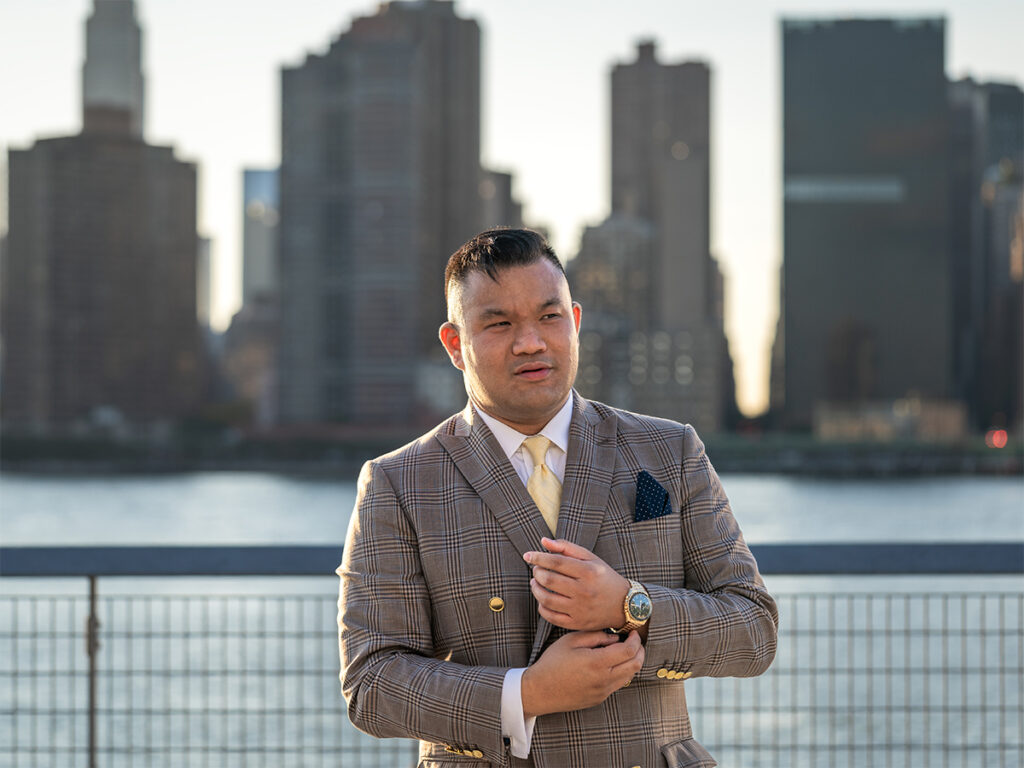
When it comes to photographing professional headshots in natural light, one of my go-to locations is Gantry Plaza State Park in Long Island City, Queens. With the iconic Manhattan skyline as your backdrop, and the warm, soft glow of golden hour casting its magic, you have the perfect recipe for stunning portraits.
A headshot, in essence, is simply a portrait that places the individual as the subject focus. Typically, it finds its use-case in professional profile pictures on social media platforms, online dating profiles, the corporate website’s “about us” section, and promotional visuals featuring actors, models, and authors. The core of a headshot lies in capturing the unique personality of the subject within a single frame.
Natural Light Headshots Camera Gear Essentials

I have a comprehensive list of all the camera gear I use for a myriad of situations, but this is what I typically bring for portraits and headshots.
- Use a camera that allows for manual control, or aperture priority, of settings. For client work, I always use my full-frame Sony a7III, which has dual memory card slots.

- For lenses, primes with wide apertures are preferred, such as a 50mm f/1.8 (aka “nifty fifty”), but I use my workhorse, 24-70mm f/2.8 GM II. Think of the aperture as your eye’s pupil. The wider the hole is open will help you achieve “bokeh,” that beautiful background blur while letting in as much light as possible.

- A tripod isn’t necessary, but it can ensure sharp images, especially if your camera’s shutter speed drops to slower settings. Not only that, but it’ll help maintain consistency if there is a queue of people getting their headshots taken at the same time, like at a corporate event. My main tripod is the 3-Legged Thing Leo.

- While mastering artificial light is necessary to level up the quality of your work, it’s understandable that it can be intimidating to start using light accessories. The 5-in-1 collapsible circular reflector is an invaluable tool for modifying natural light to achieve professional results. If you’re working by yourself, be sure to get a stand too! A reflector allows you to control and enhance the natural light, providing versatility in the quality and direction of the light falling on your subject. Most reflectors also have a diffusion disc so if the sunlight is too harsh, use that instead and position it between the sun and your subject. This will diffuse the light and create a gentle, even glow on your subject’s face.

Camera Settings

Settings will always vary depending on the amount of light available and the look you’re going for, but these are typically the starter settings I use. Adjust according to your environment.
- Aperture: start with a wide aperture (low f-stop) like f/2.8. This will create a shallow depth of field, making your subject pop against the background.
- Shutter Speed: Keep shutter speed fast enough to avoid motion blur, especially if your subject is moving or the light is changing rapidly during golden hour. A shutter speed of 1/200 or 1/250s should suffice. If the subject is not moving, or the camera is on a tripod, going down to 1/100 is doable.
- ISO: Begin with a low ISO setting, such as ISO 100 or 200, to minimize noise. Gradually increase the ISO if needed as the light fades.
Directing Clients How To Pose

Directing clients on how to pose is THE most crucial aspect of capturing great headshots. Anyone can master the technicals of a camera and press the shutter, but what differentiates an amateur from a pro is how you make clients feel during the photo shoot!
- Build Rapport: Make clients feel at ease and relaxed, as this will lead to more natural and genuine expressions. I like to start my portrait shoots by asking the subject to shake their shoulders or walk towards me as I hype them up.
- Start with the Basics: Begin with simple, neutral poses to help your clients relax. Ask them to stand or sit naturally. It’s important to have a framework and a checklist of at least 5 go-to moves to guarantee certain shots are achieved.
- Use Verbal Cues: Instead of overwhelming your clients with detailed instructions, use concise verbal cues.
- Focus on Facial Expressions: Expressions are key in headshots. Prompt your clients to convey a range of emotions, by suggesting that they think about something that makes them can help create the expressions. Joking around always helps in this area.
- Experiment with Variations: Don’t be afraid to experiment with different poses and angles. Encourage your clients to move, shift their weight, or adjust their posture slightly to create variety. It’s always better to have more than less, especially when it comes to client work.
- Positioning: Place your subject so that the natural light source (the setting sun during golden hour, in this case) is hitting them from the side or at a slight angle. This creates flattering shadows on their face.
- Be Patient and Positive: Some clients may be more self-conscious than others, so offer positive feedback and reassurance. It’s literally your job to give them feedback constructively and encouragingly. Instead of saying, “That’s not good,” you can say, “Great job! Let’s try this pose now.”
- Capture Candid Moments: While guiding your clients through specific poses, be ready to capture candid moments in between. More so for standard portrait shoots rather than professional headshots, these unguarded moments yield some of the most authentic and captivating images.
- Take Breaks: portrait sessions can be exhausting for everyone, especially if they involve multiple outfit changes or extended shooting periods. Give your clients breaks to reset, even if the photoshoot is only 30 minutes. Not only that, it’s okay for you as the photographer to slow things down in order to intentionally think about the shot you’re going for.
By following these tips, you’ll be well-equipped to create professional headshots in natural light. Golden hour’s soft, warm glow combined with your photographic skills will result in headshots that truly capture the essence of your subject’s personality and the beauty of the location. Happy snapping!
Leave a Reply Cancel reply
is the creative studio of Erin Donahue, offering photography, videography, and content creation services for brands, hotels, tourism boards, and publications.
Based in New York City, but available globally, this multi-disciplinary digital creative left a career in the hedge fund space to pursue her passion as a travel and brand photographer, creating imagery that resonates with audiences. She approaches every project with a focus on storytelling, producing visuals that engage and inspire.
Her work has been commissioned by brands like Sony, Apple, and Google, and the content she has created has reached millions across social media.
To keep up to date with everything she shares, follow along on social media and read up on what camera gear she uses to capture the shot.
Niredonahue®
© Erin Donahue Creative LLC, All Rights Reserved
Terms of Service & Privacy Policy